How To: Configure your Oracle Cloud Virtual Machine with Mailgun and Ghost for newsletters


BitmapBytes.com uses the Oracle Cloud to host this blog - in a 6 part series I will be taking you through how you can quickly and easily spin up a website with 200gb of free space hosted on the Oracle Cloud. Connect it with your domain with https support, setup the domain with free email service for 5 emails provided by ZOHO mail - and finally install the Ghost blogging platform and configuring it with Mailgun for sending out newsletters to your followers.
- Part 1 - Setting up an account with Oracle Cloud
- Part 2 - Spinning up an Oracle Virtual Machine
- Part 3 - Configuring your Oracle Virtual Machine as a webserver
- Part 4 - Install Ghost CMS
- Part 5 - Setup free email provider
- Part 6 - Configure Mailgun
Ghost provides an easy integration with Mailgun to handle Newsletters, Signups and subscriptions. For more info on Mailgun or how-to use an alternative service head here - https://ghost.org/docs/faq/mailgun-newsletters/
Why should you use Mailgun and not just MTP to handle this..
Sending a bulk email to many recipients using basic SMTP will result in your IP address being instantly blacklisted and marked as spam by all mail providers.
... ...You should never, ever send bulk mail using basic SMTP.
Mailgun recently updated their pricing, including the removal of a free tier.
However, under their new pricing, invoices are not sent if they total less than $0.50 - which is about 625 emails.
Create a Mailgun account
Head over to Mailgun and lets start by creating a new account - https://signup.mailgun.com/new/signup
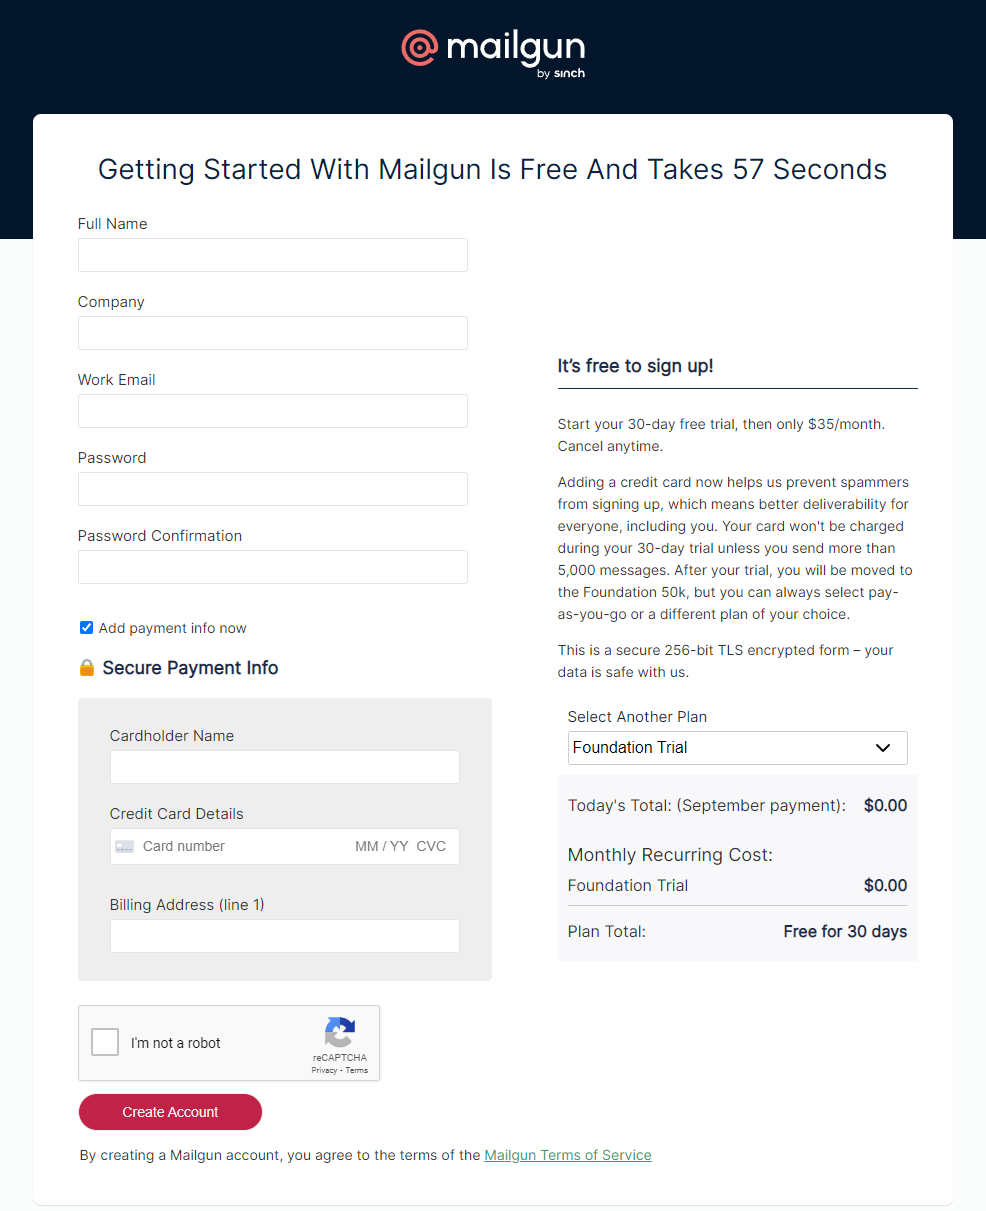
Yes - it says you will be charged $35/month at this point I have not been charged and in theory as long as you send less than 600 emails / month it should be free..
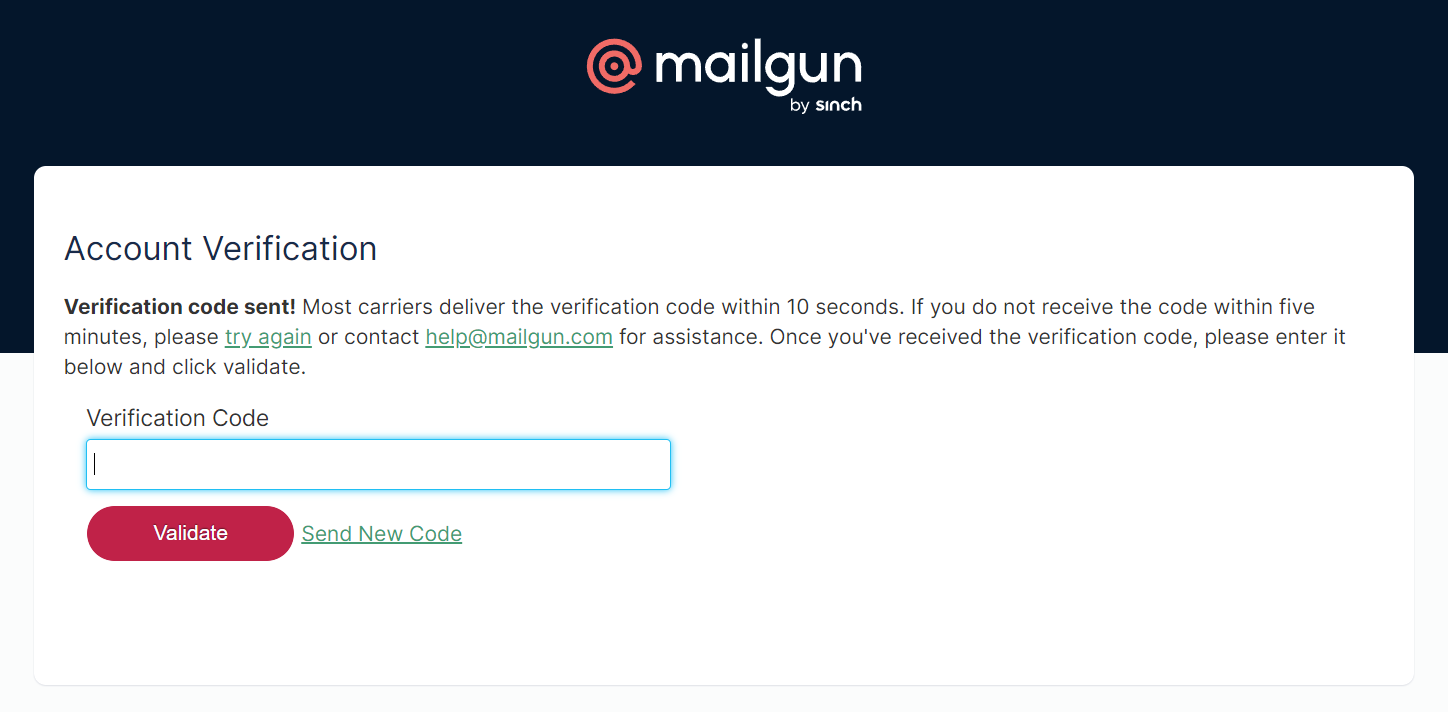
You should receive an email from Mailgun once you sign up to activate your account - mine funnily got blocked by our spam solution...
To verify you will need to supply you mobile number and then fill in the activation code.
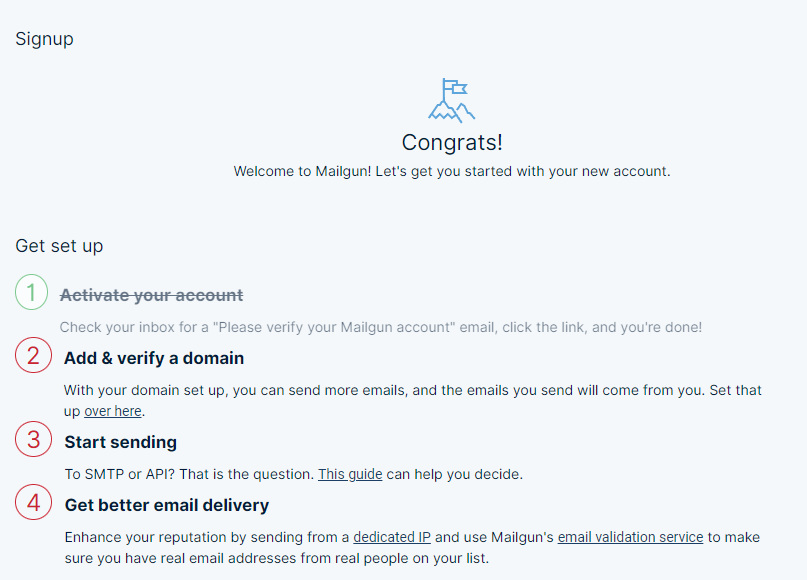
Once your account has been activated you can go ahead and add and verify your Ghost domain.
Add your domain and select your region.
ie "mg.<domain>.com"
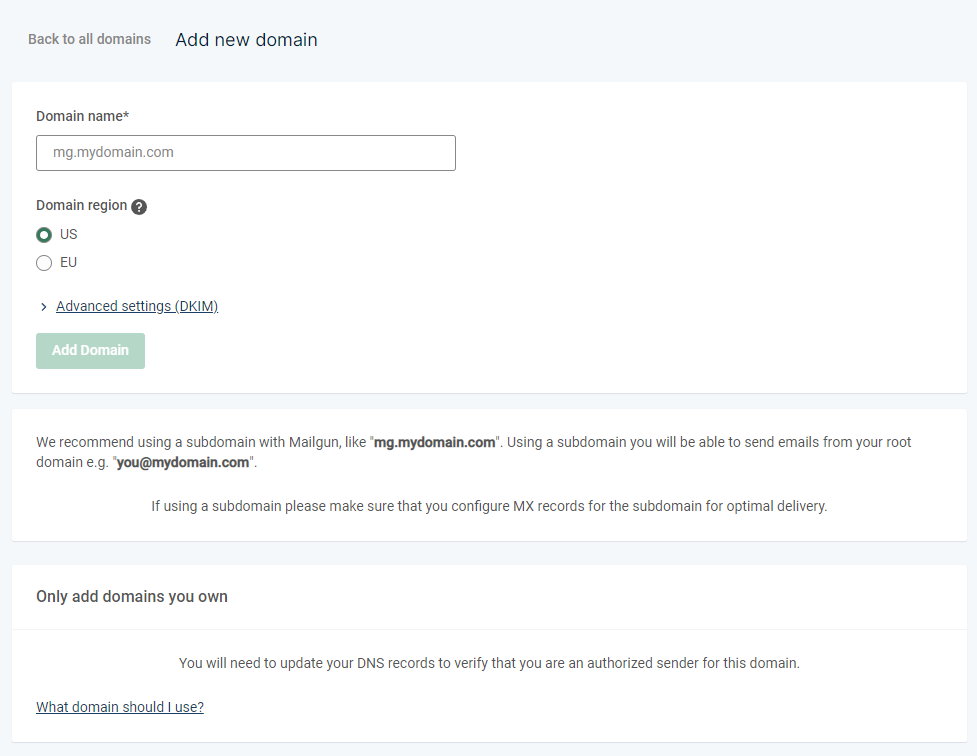
Now you'll need to head to your domain registrar and add TXT, MX and a CNAME in your DNS against your domain.
Once done verify all these have been correctly added.
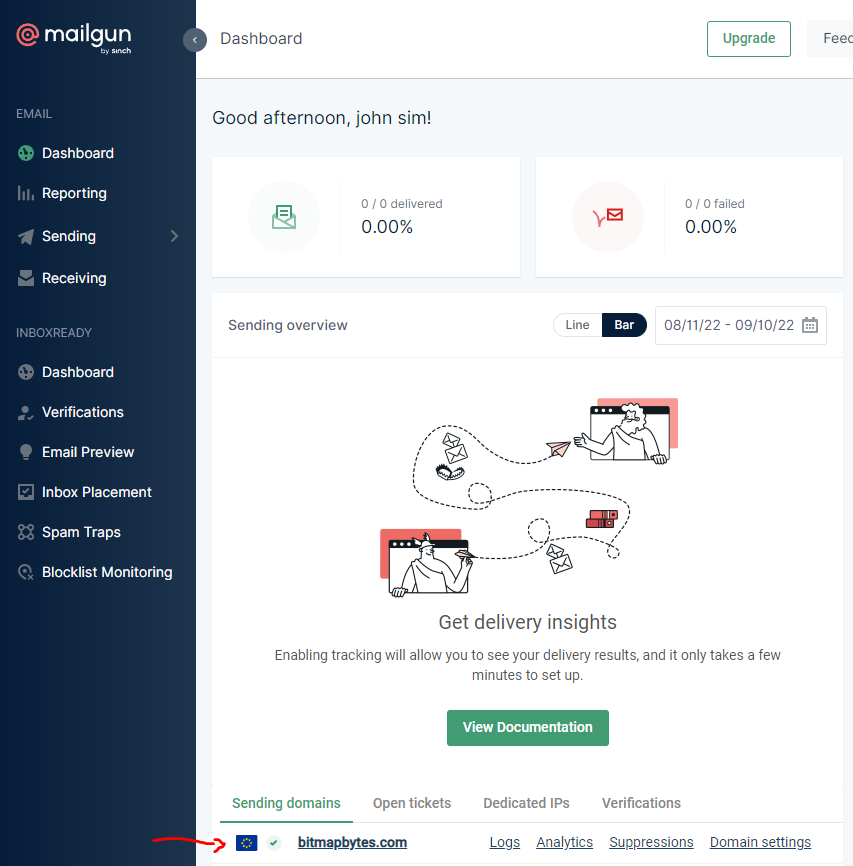
Now you'll need to grab the SMTP information from Mailgun head over to the dashboard and select your domain and then from the following page select the SMTP Button
Lets go ahead and update the ghost configuration file - "config.production.json"
cd \var\www\<ghostFolder>Edit it and look for the mail object key -
{
  "mail": {
    "transport": "Direct"
  }
}
Add the following replacing <host>,<username>,<password> with the infomation from Mailgun.
{
  "mail": {
    "transport": "SMTP",
    "options": {
      "service": "Mailgun",
      "host": "<host>",
      "port": 587,
      "secure": false,
      "auth": {
        "user": "<username>",
        "pass": "<password>"
      }
    }
  }
}
Once the file has been saved head to your ghost folder in terminal and restart
ghost restart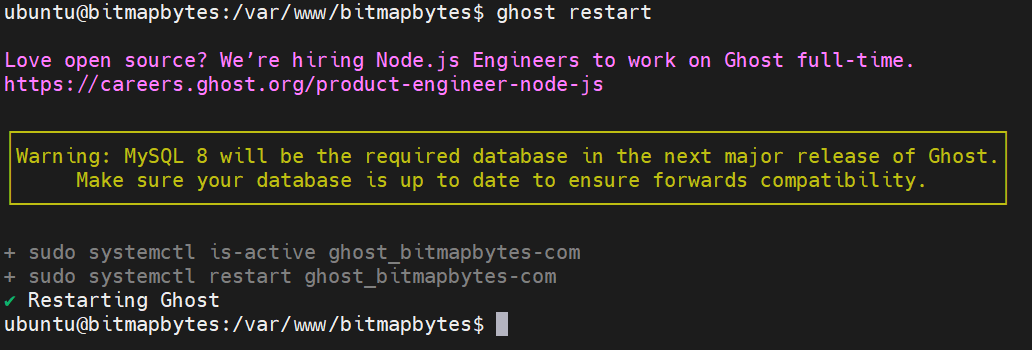
That's it!
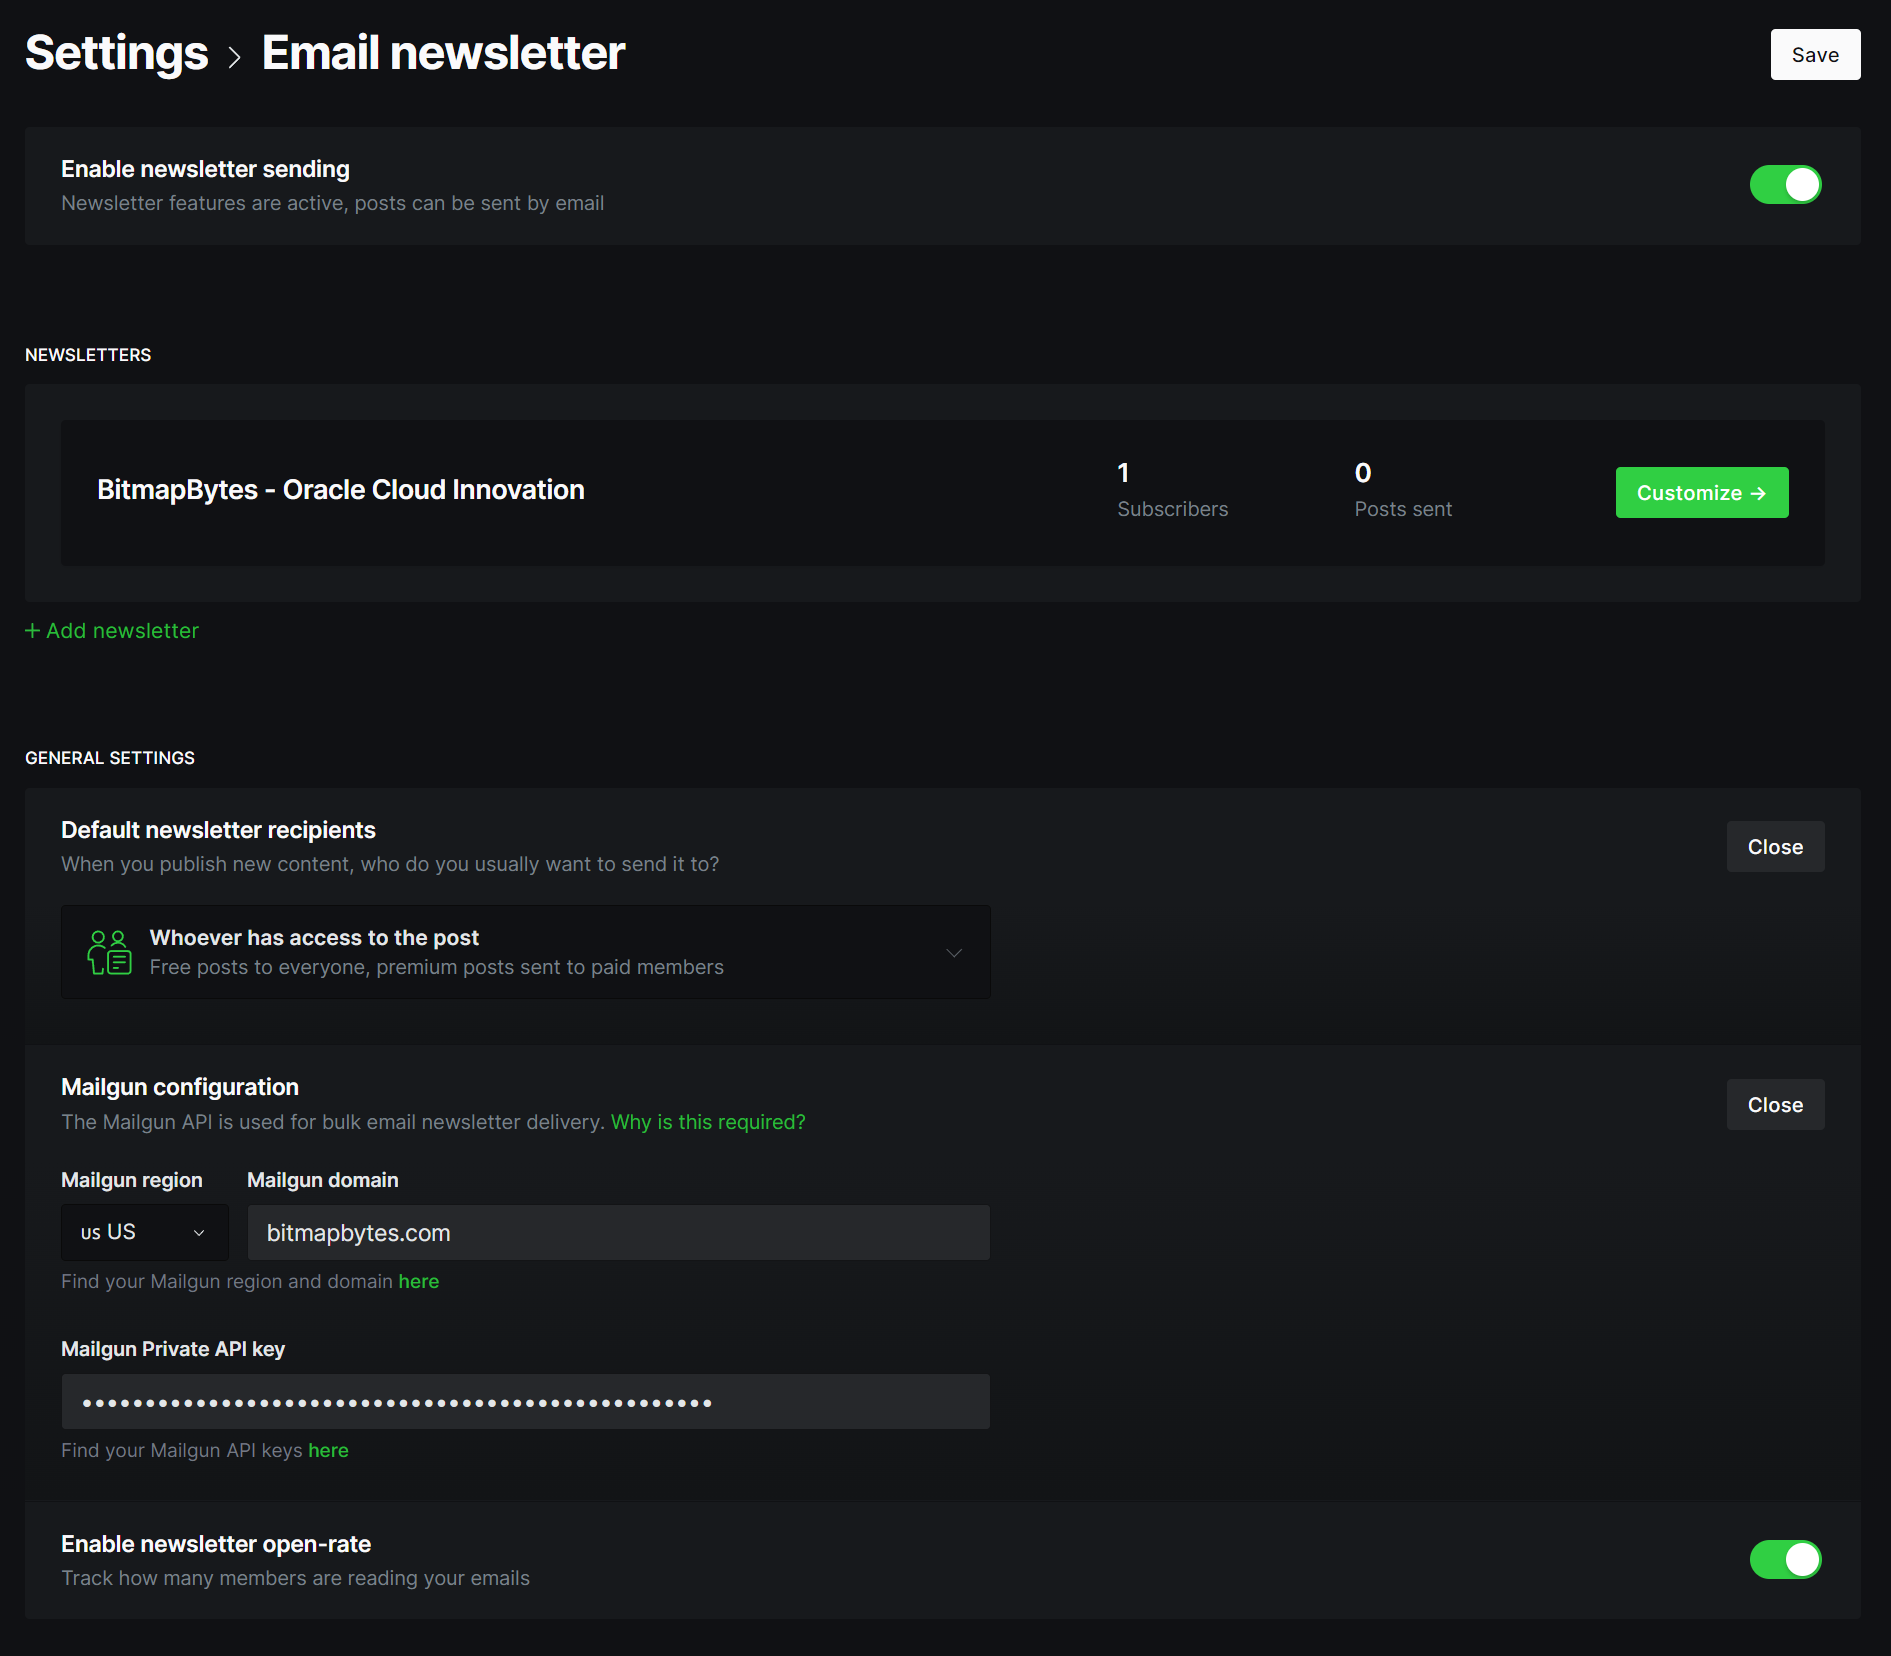
Enabling Newsletter Emails
Login to your Ghost admin panel
- Toggle and enable "Enable newsletter sending"
- Scroll down to Mailgun configuration
- Add your domain and Private key
- Select save!
Congratulations you are all set!