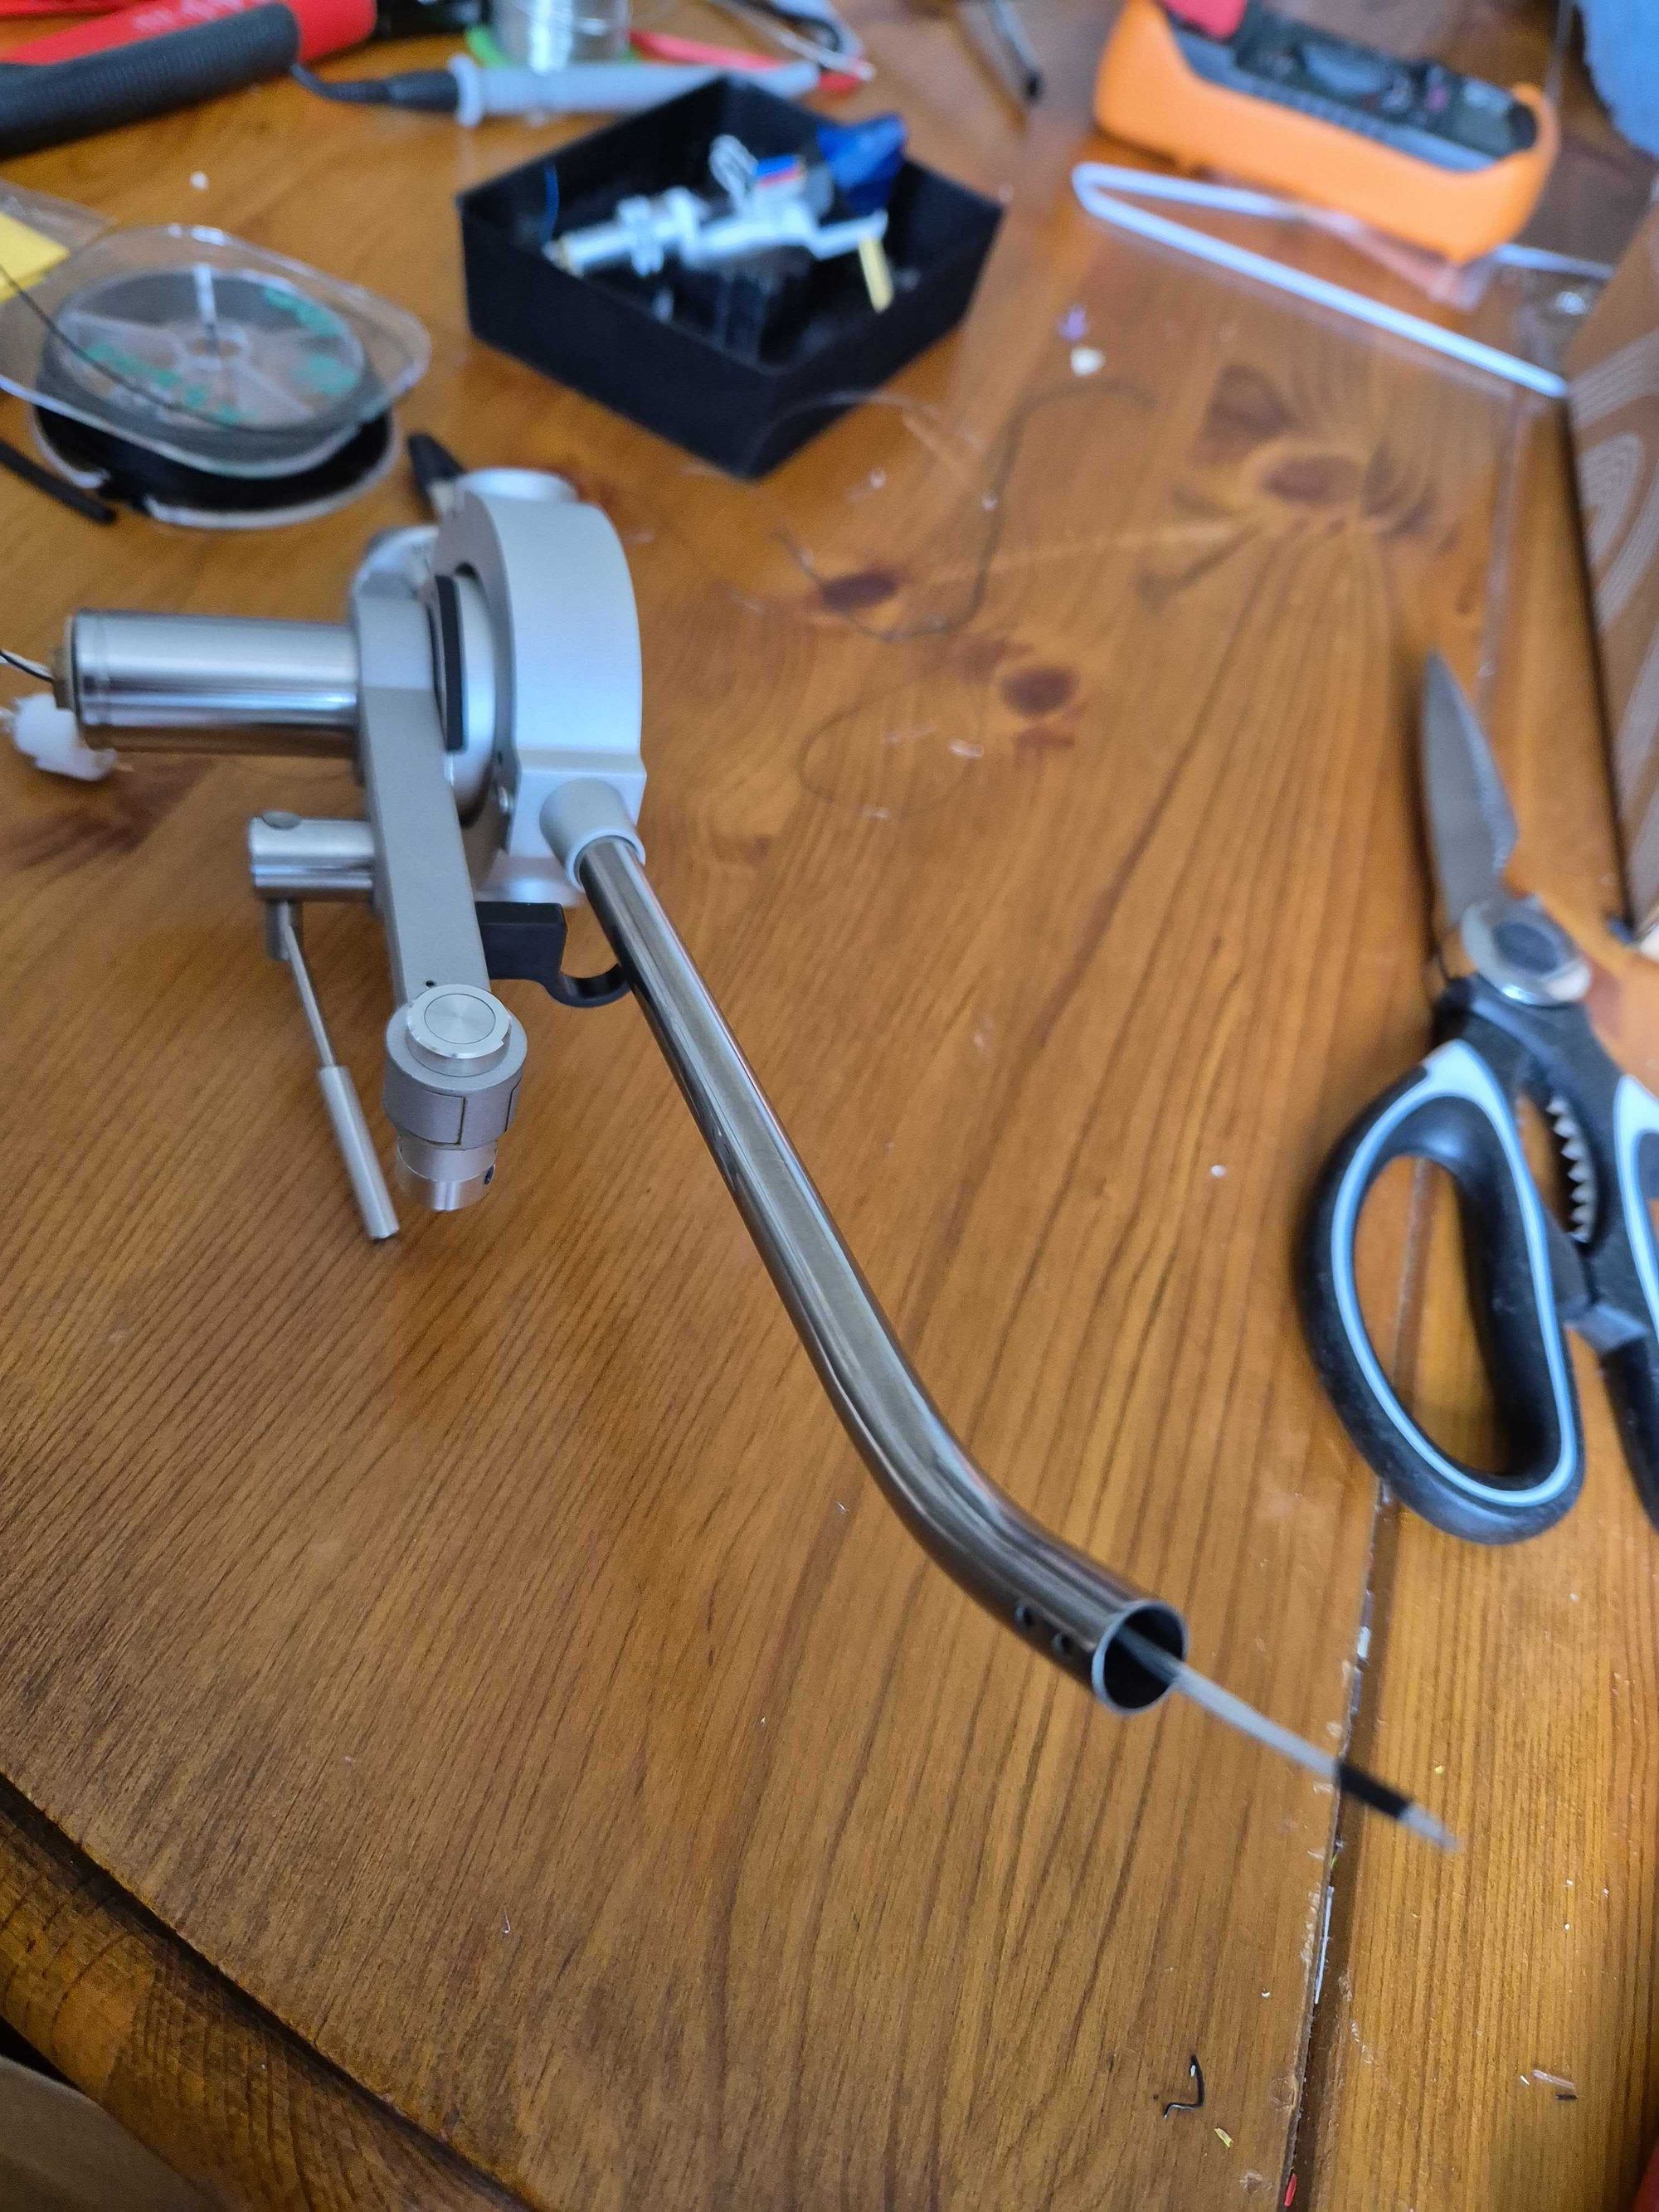
Dismantling the Micro Seiki BL-71 tonearm & cable upgrade

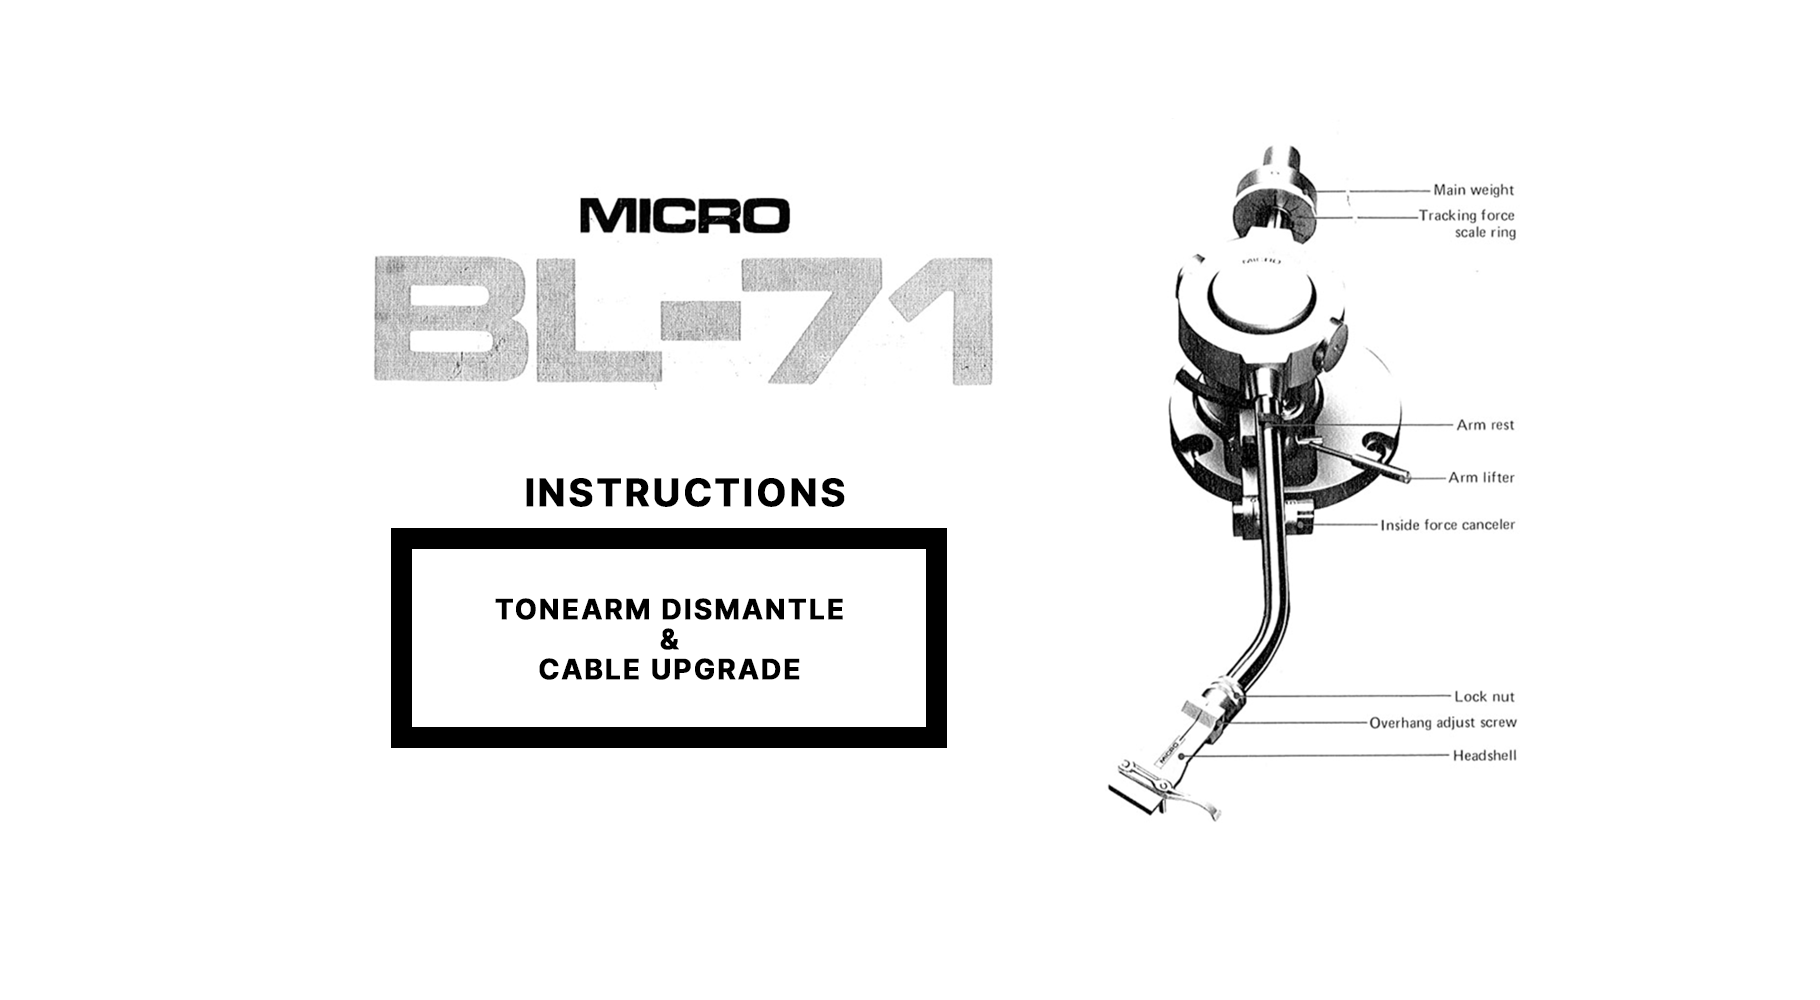
After a recent upgrade to the Korf HS-A02 Headshell I was looking to upgrade my Micro Seiki BL-71 tonearm cable with Litz 30AWG Silver 5N cables - unfortunately information like this now appears to be hidden away deep in the audiophile forums or lost in the past buried under paperwork and cigarette packets from the 80's/90's..
(no ifixit to the help here...)
Not that I can imagine thousands of Micro turntable enthusiasts are searching for this information but I thought "hey.. maybe there would be one or two others that this post could help" - with BL-71s unique flying saucer design.
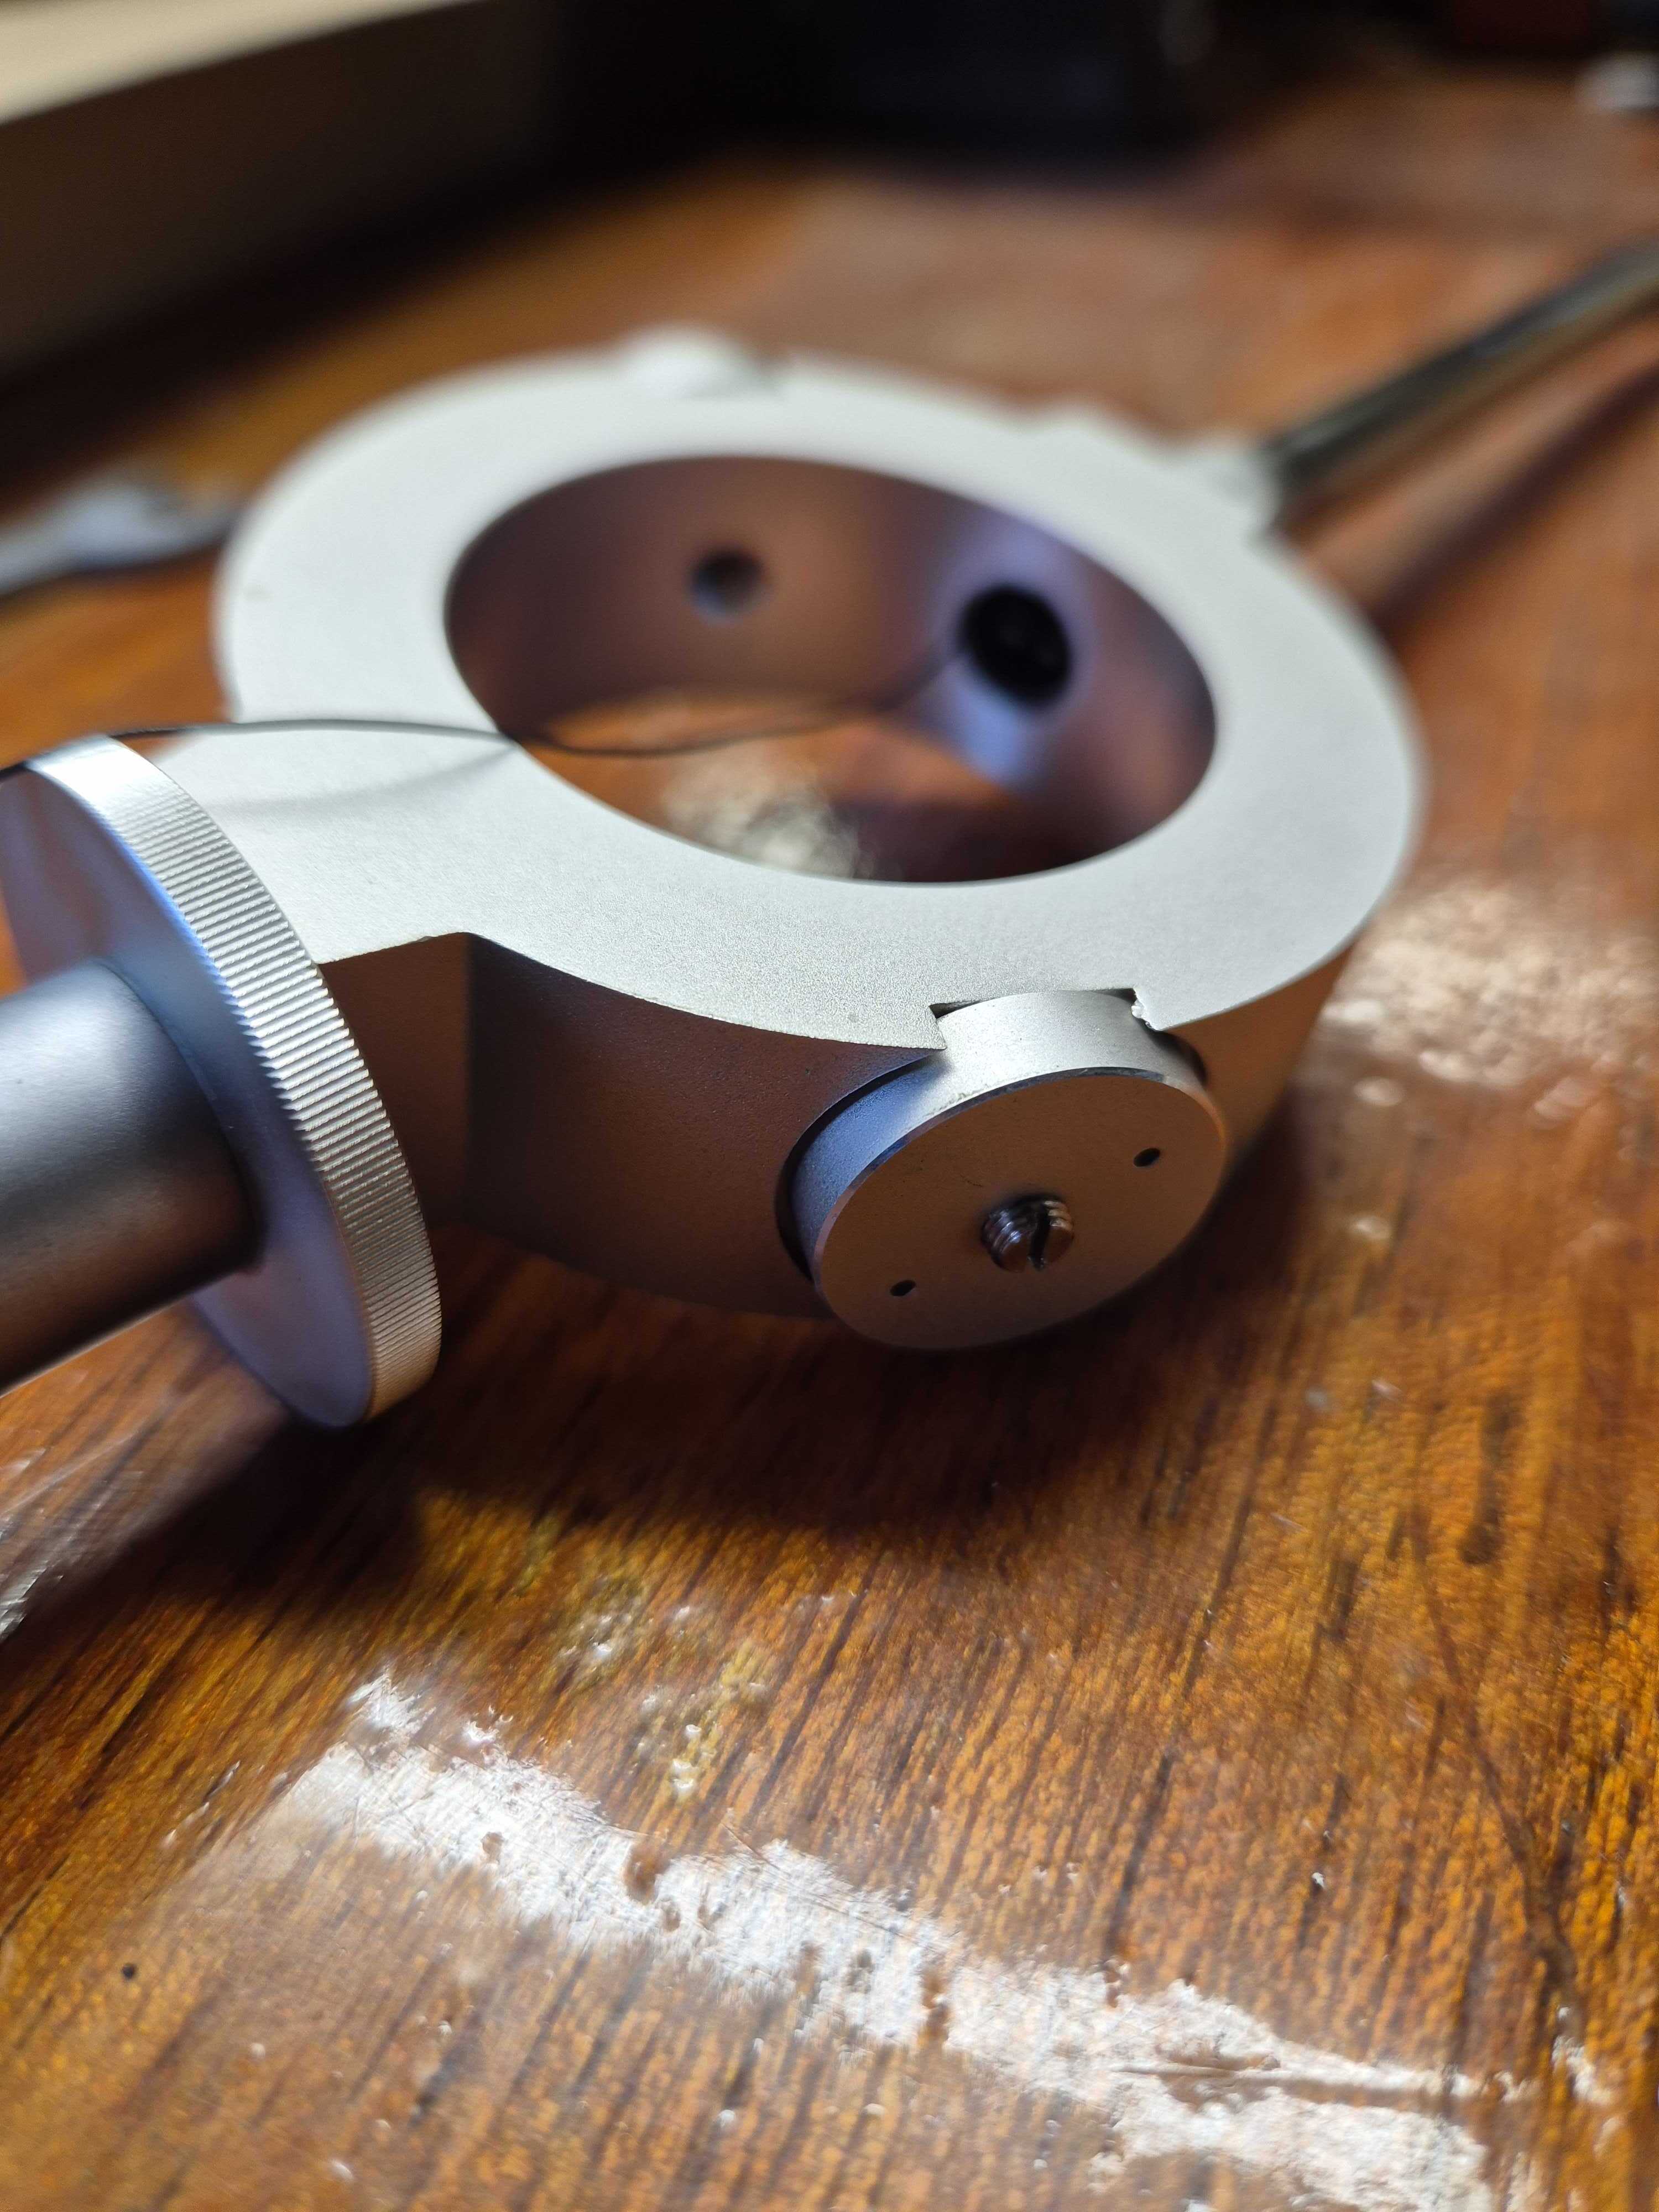
Step1: Removing the saucer arm
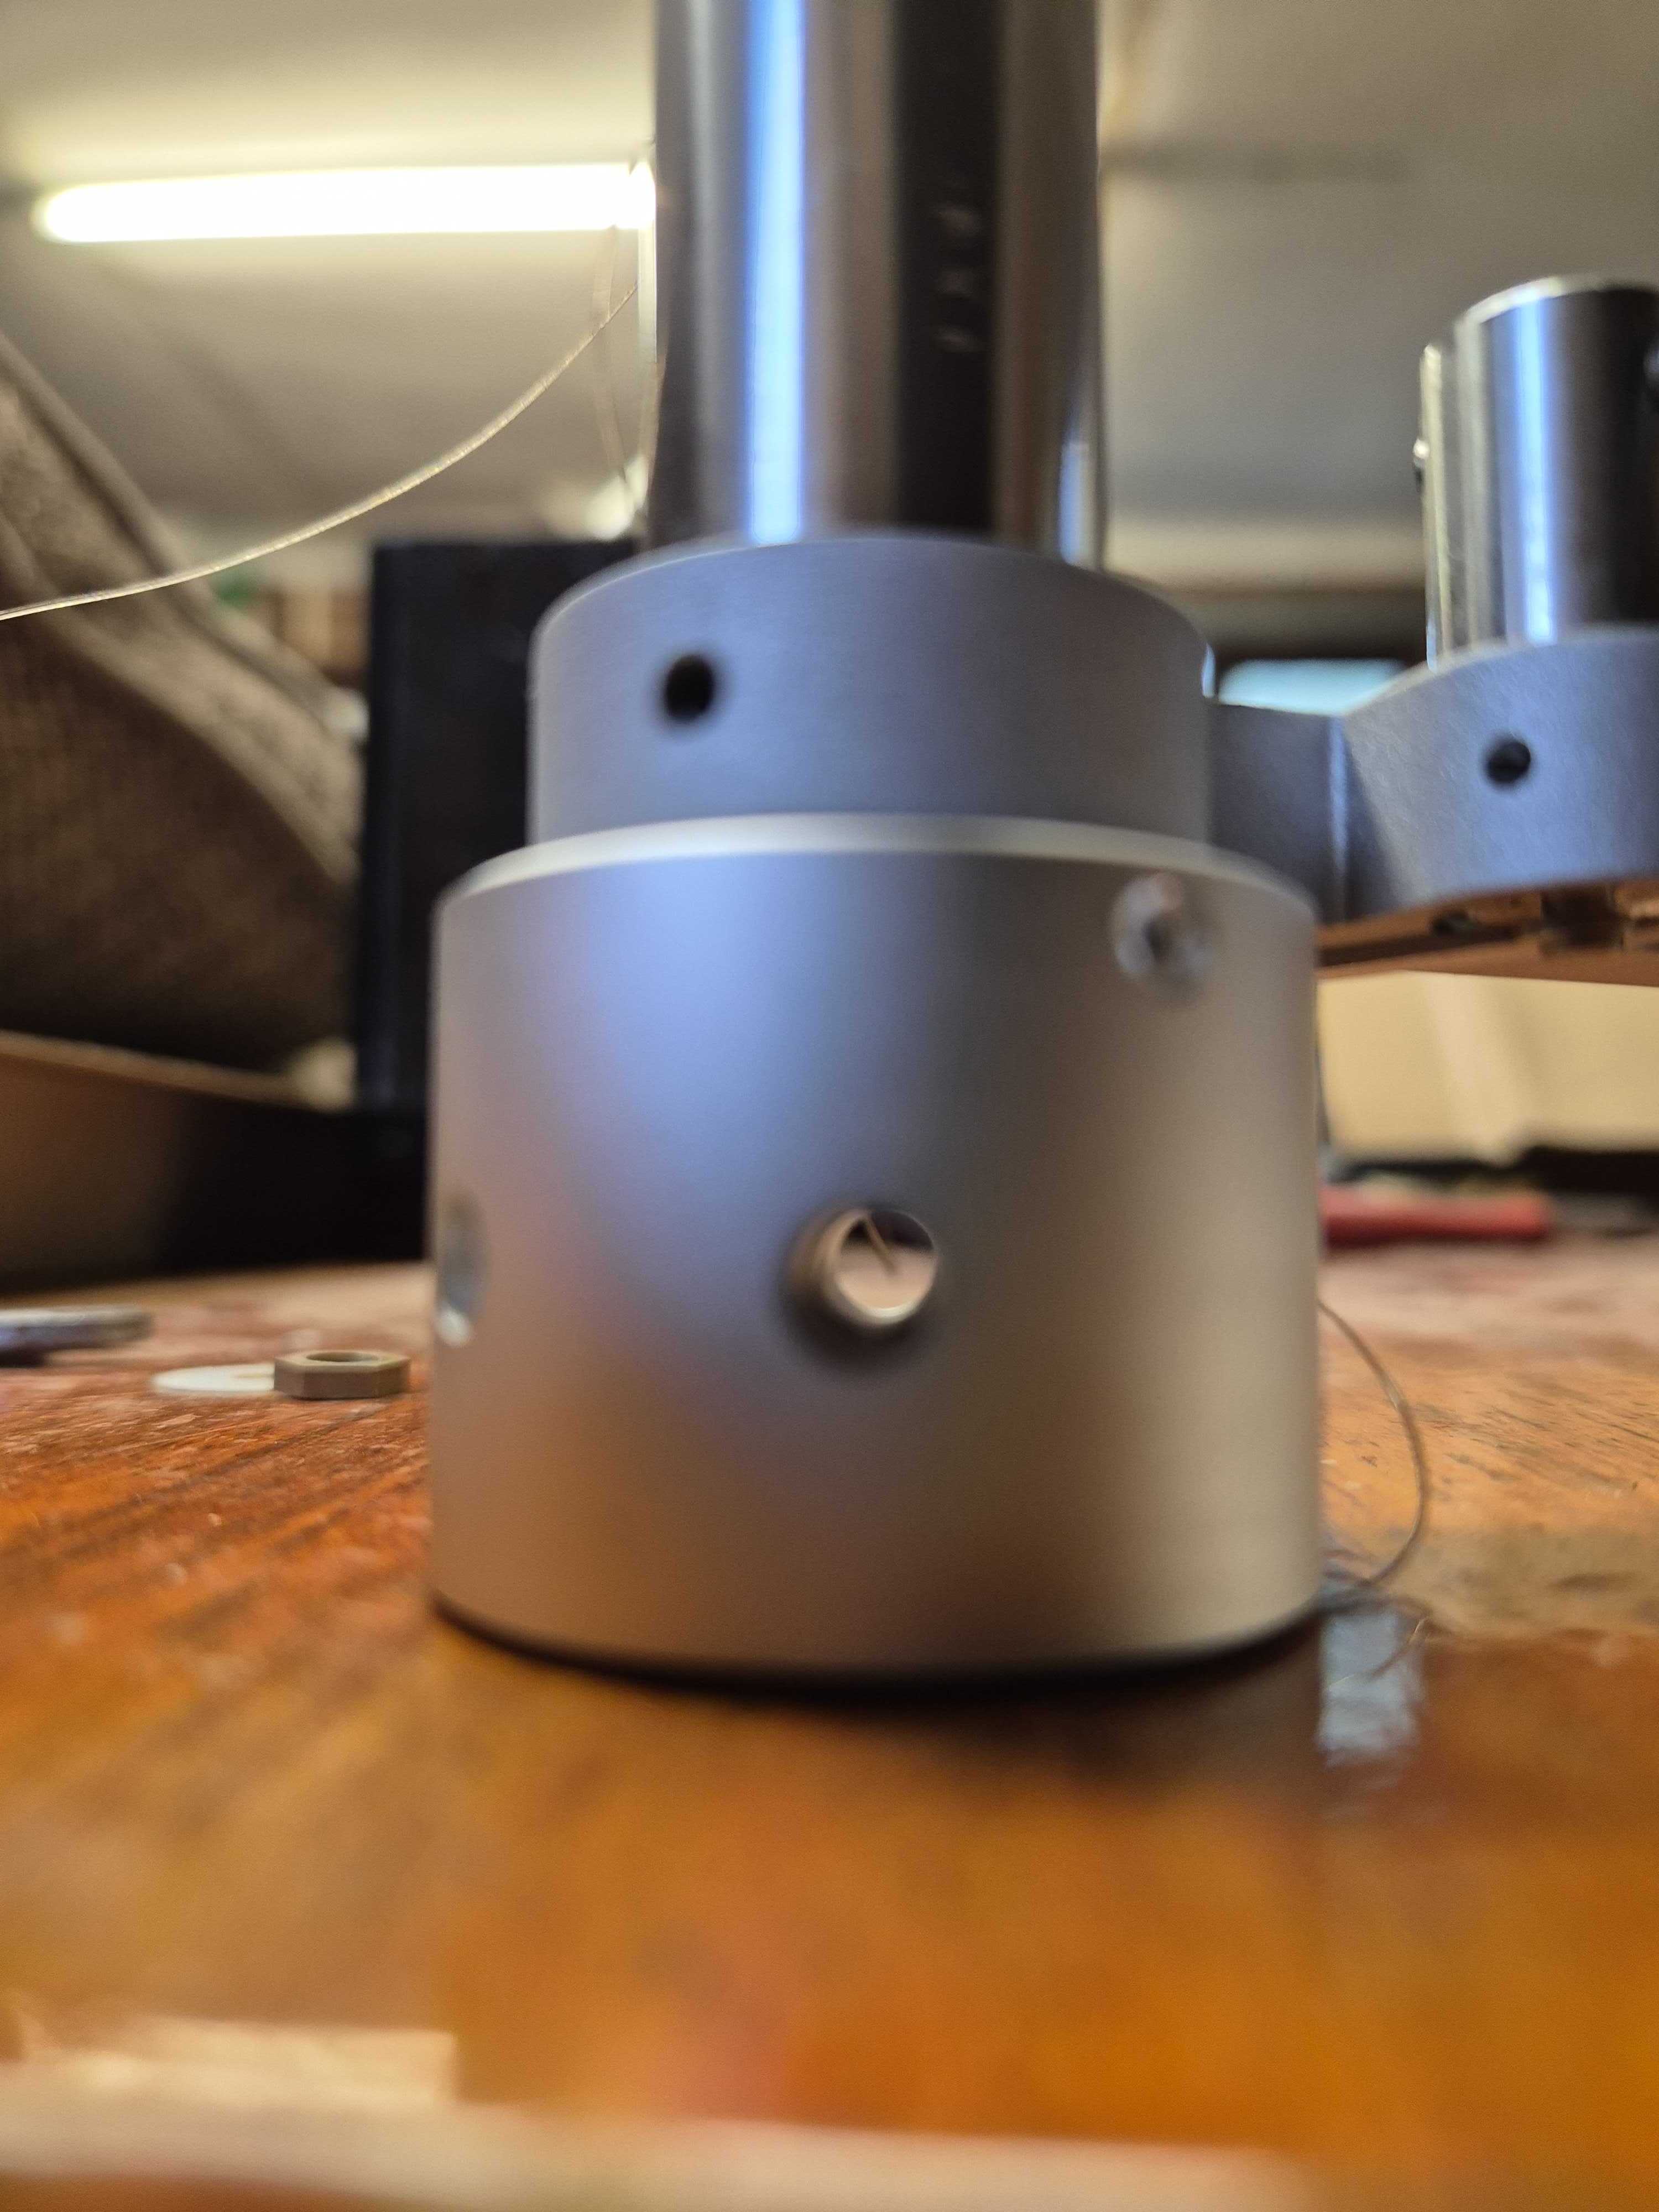
On either side of the main arm are 2 small screws undo these - about 10 turns each anti-clockwise. You don't need to remove the screws just unscrew them enough until the central base becomes loose and detaches.
Be careful at this point as attached to these screws are 2 micro bearings that allow for the balancing pivot of the tonearm - if you unscrew too much they will fall out.. (they are easy to reattach if you can find them)
..and I have no idea where you would get a replacement - so don't lose them.
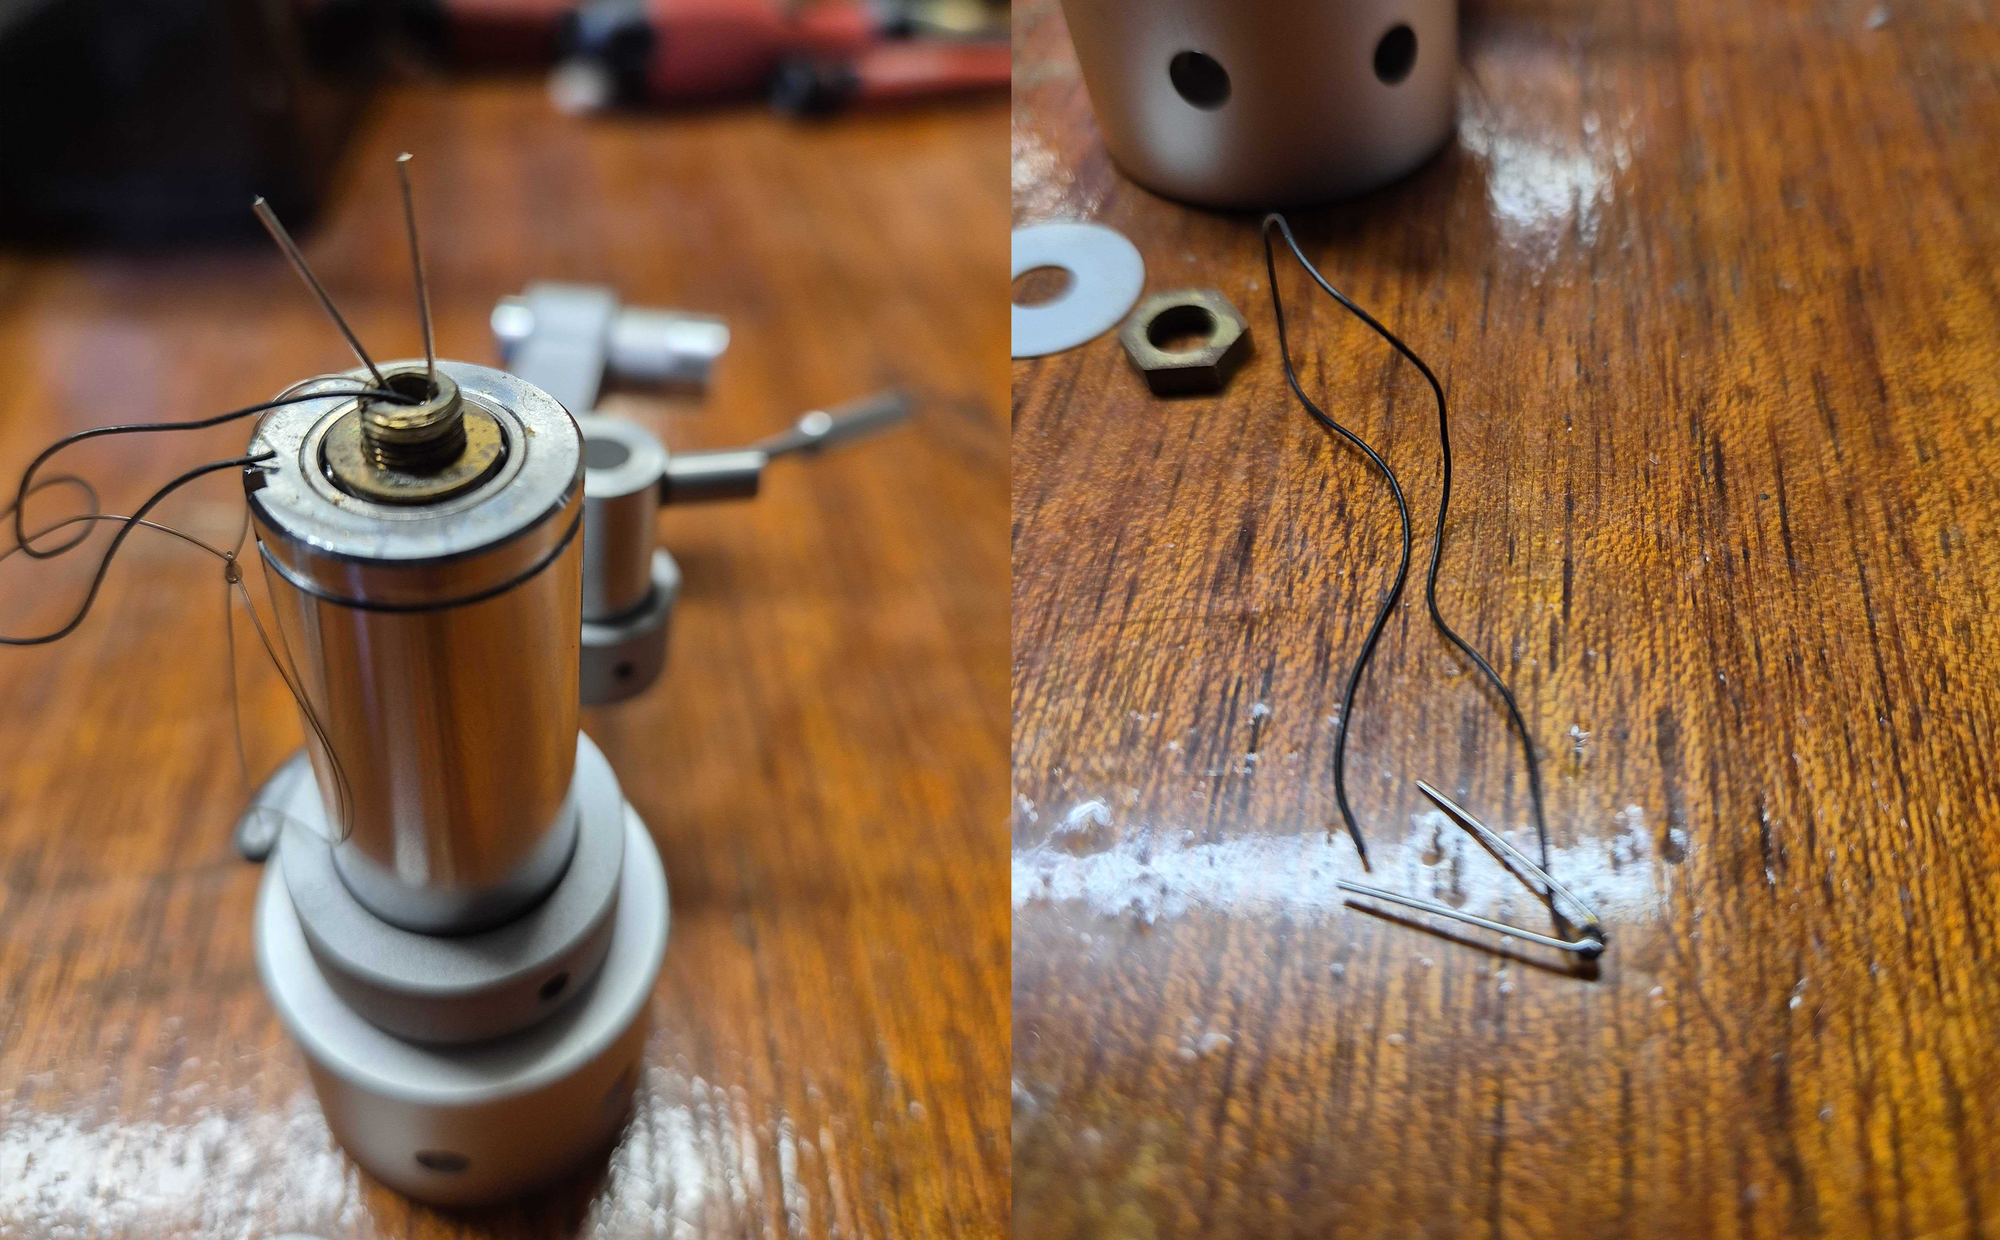
Step 2: Remove the cables from the base
You don't need to unscrew the bolt or remove the white plastic cover disc from the base as shown in the pictures they can remain.
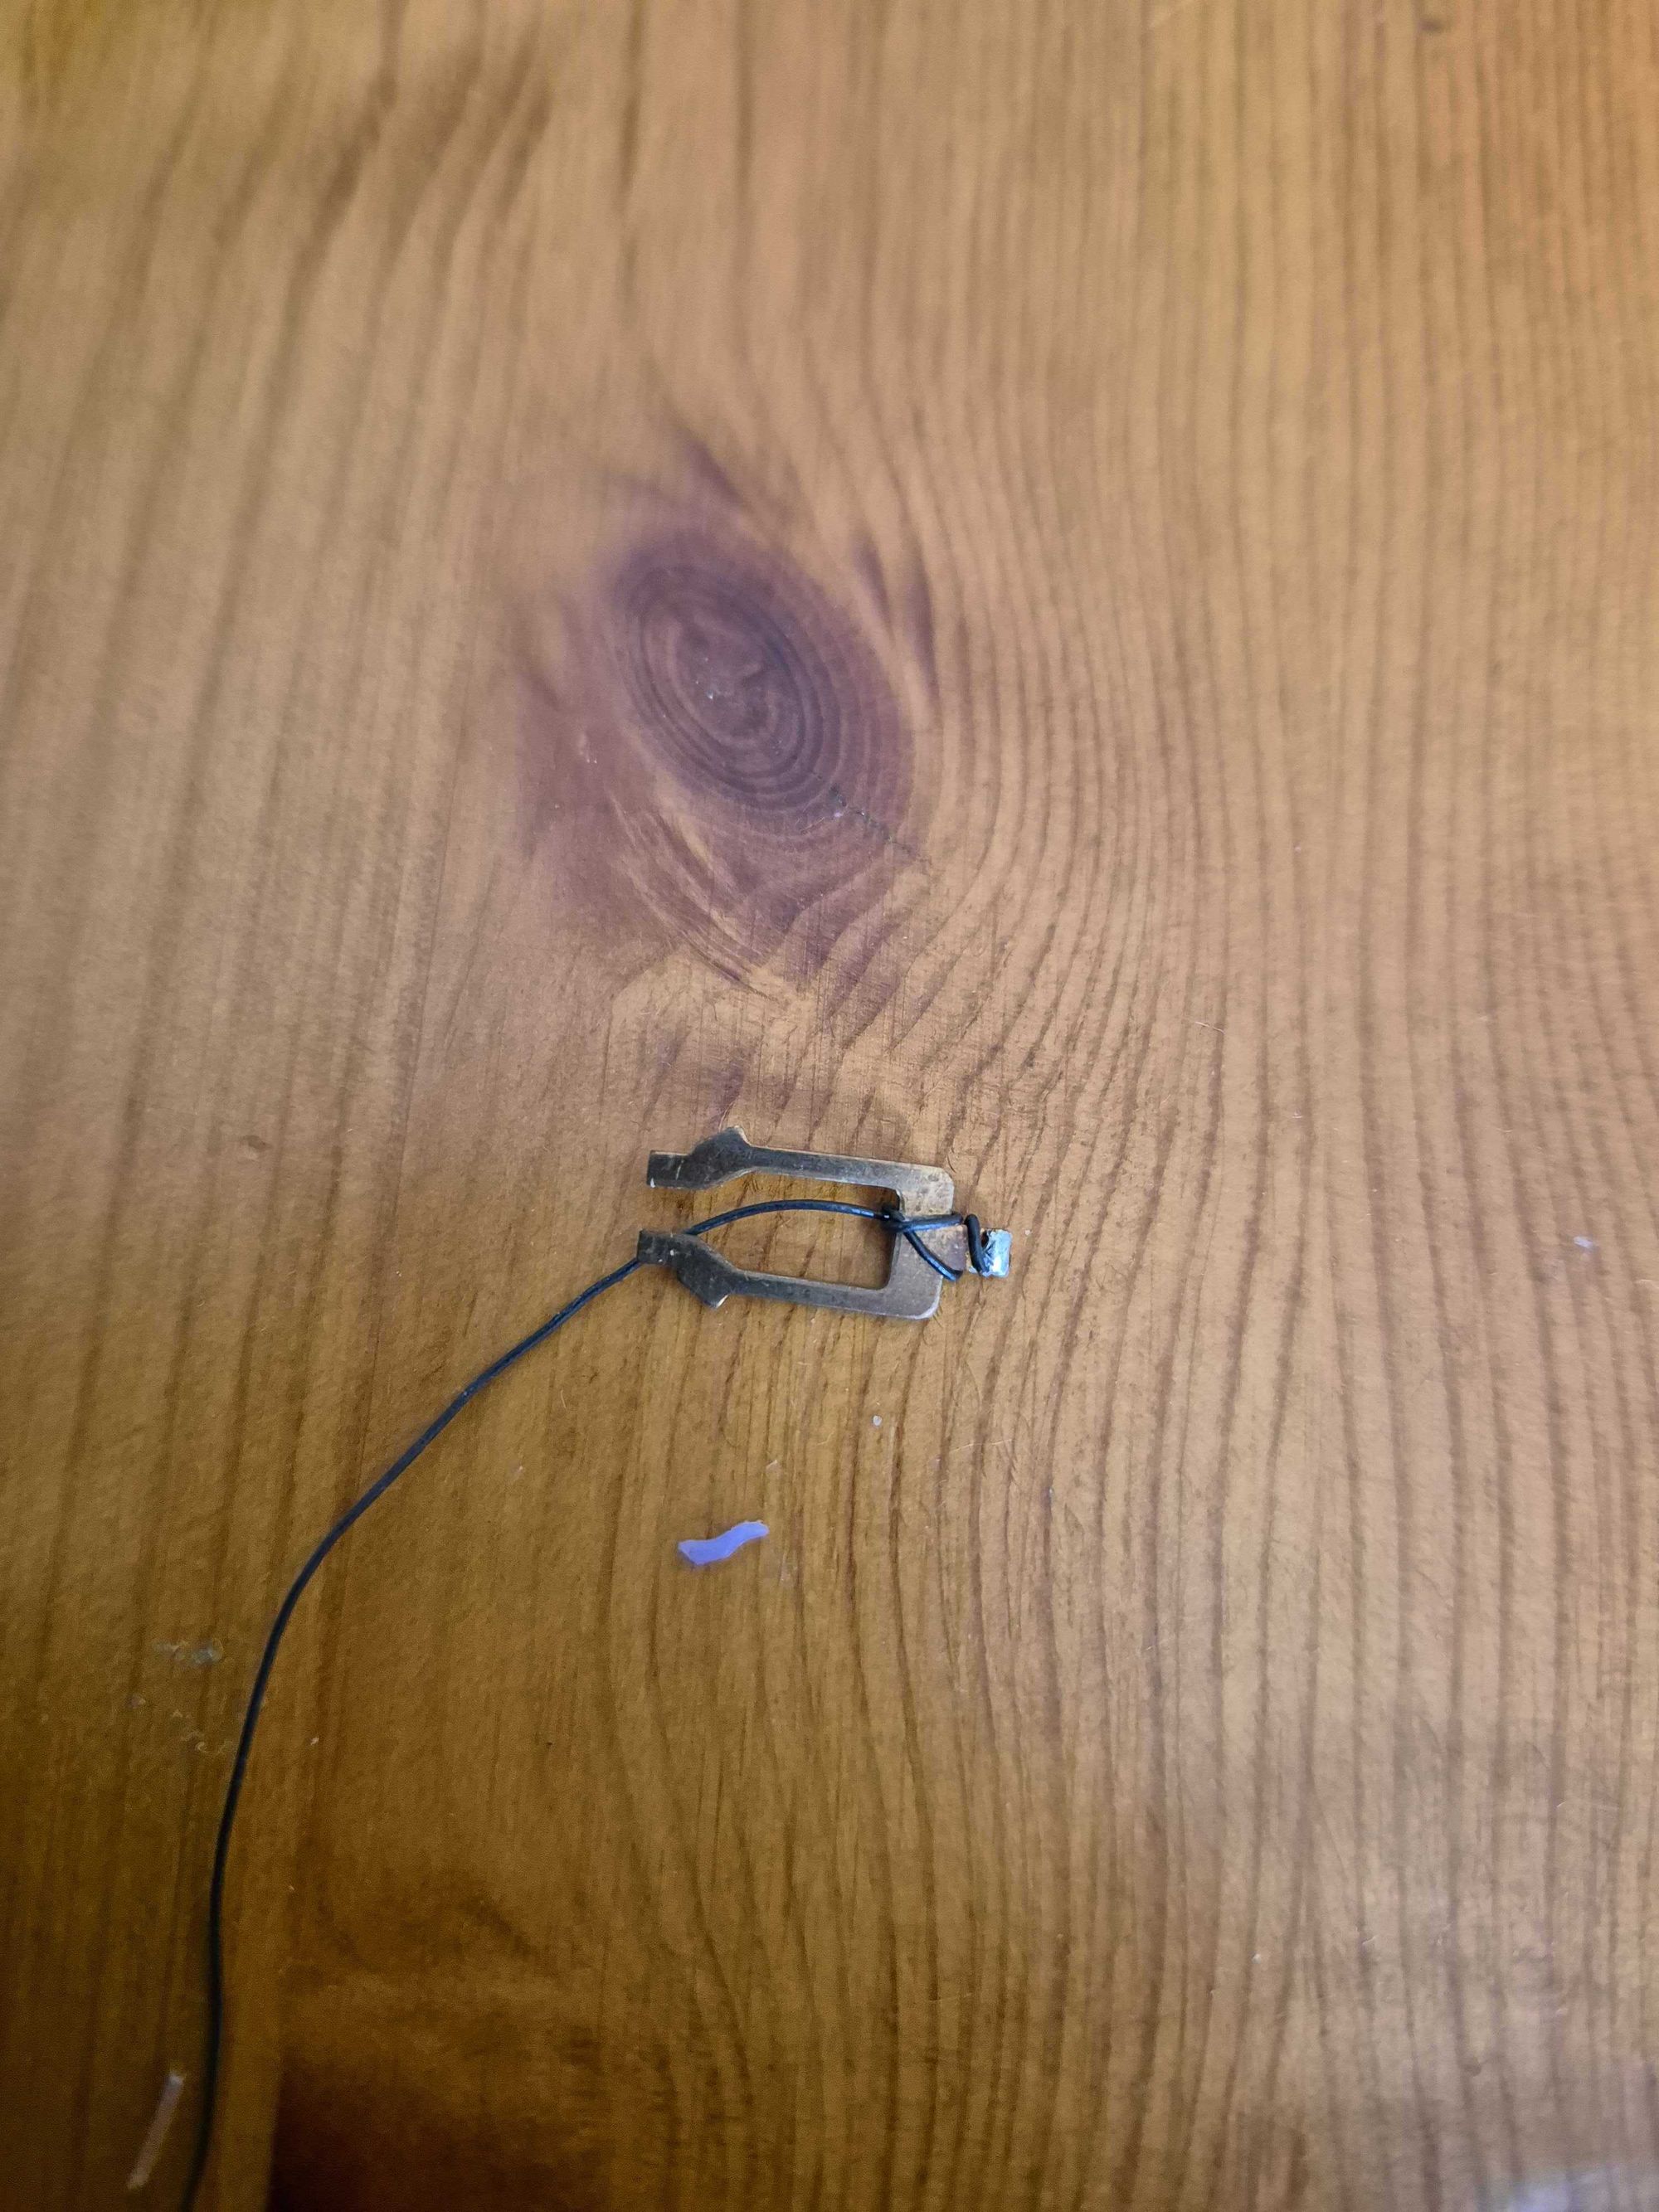
You do need to remove the grounding cable from the base first - which did cause me some trouble as I wasn't aware on how it was attached and caused resistance preventing me from easily pulling away the cables from the base.
You will notice that there are 2 black grounding cables one for the tonearm and the other for the base.. a bit of wiggling of the wires back and forth did the trick and the clip came out from the bottom freeing the other wires to be pulled away from the top of the base to the tonearm.
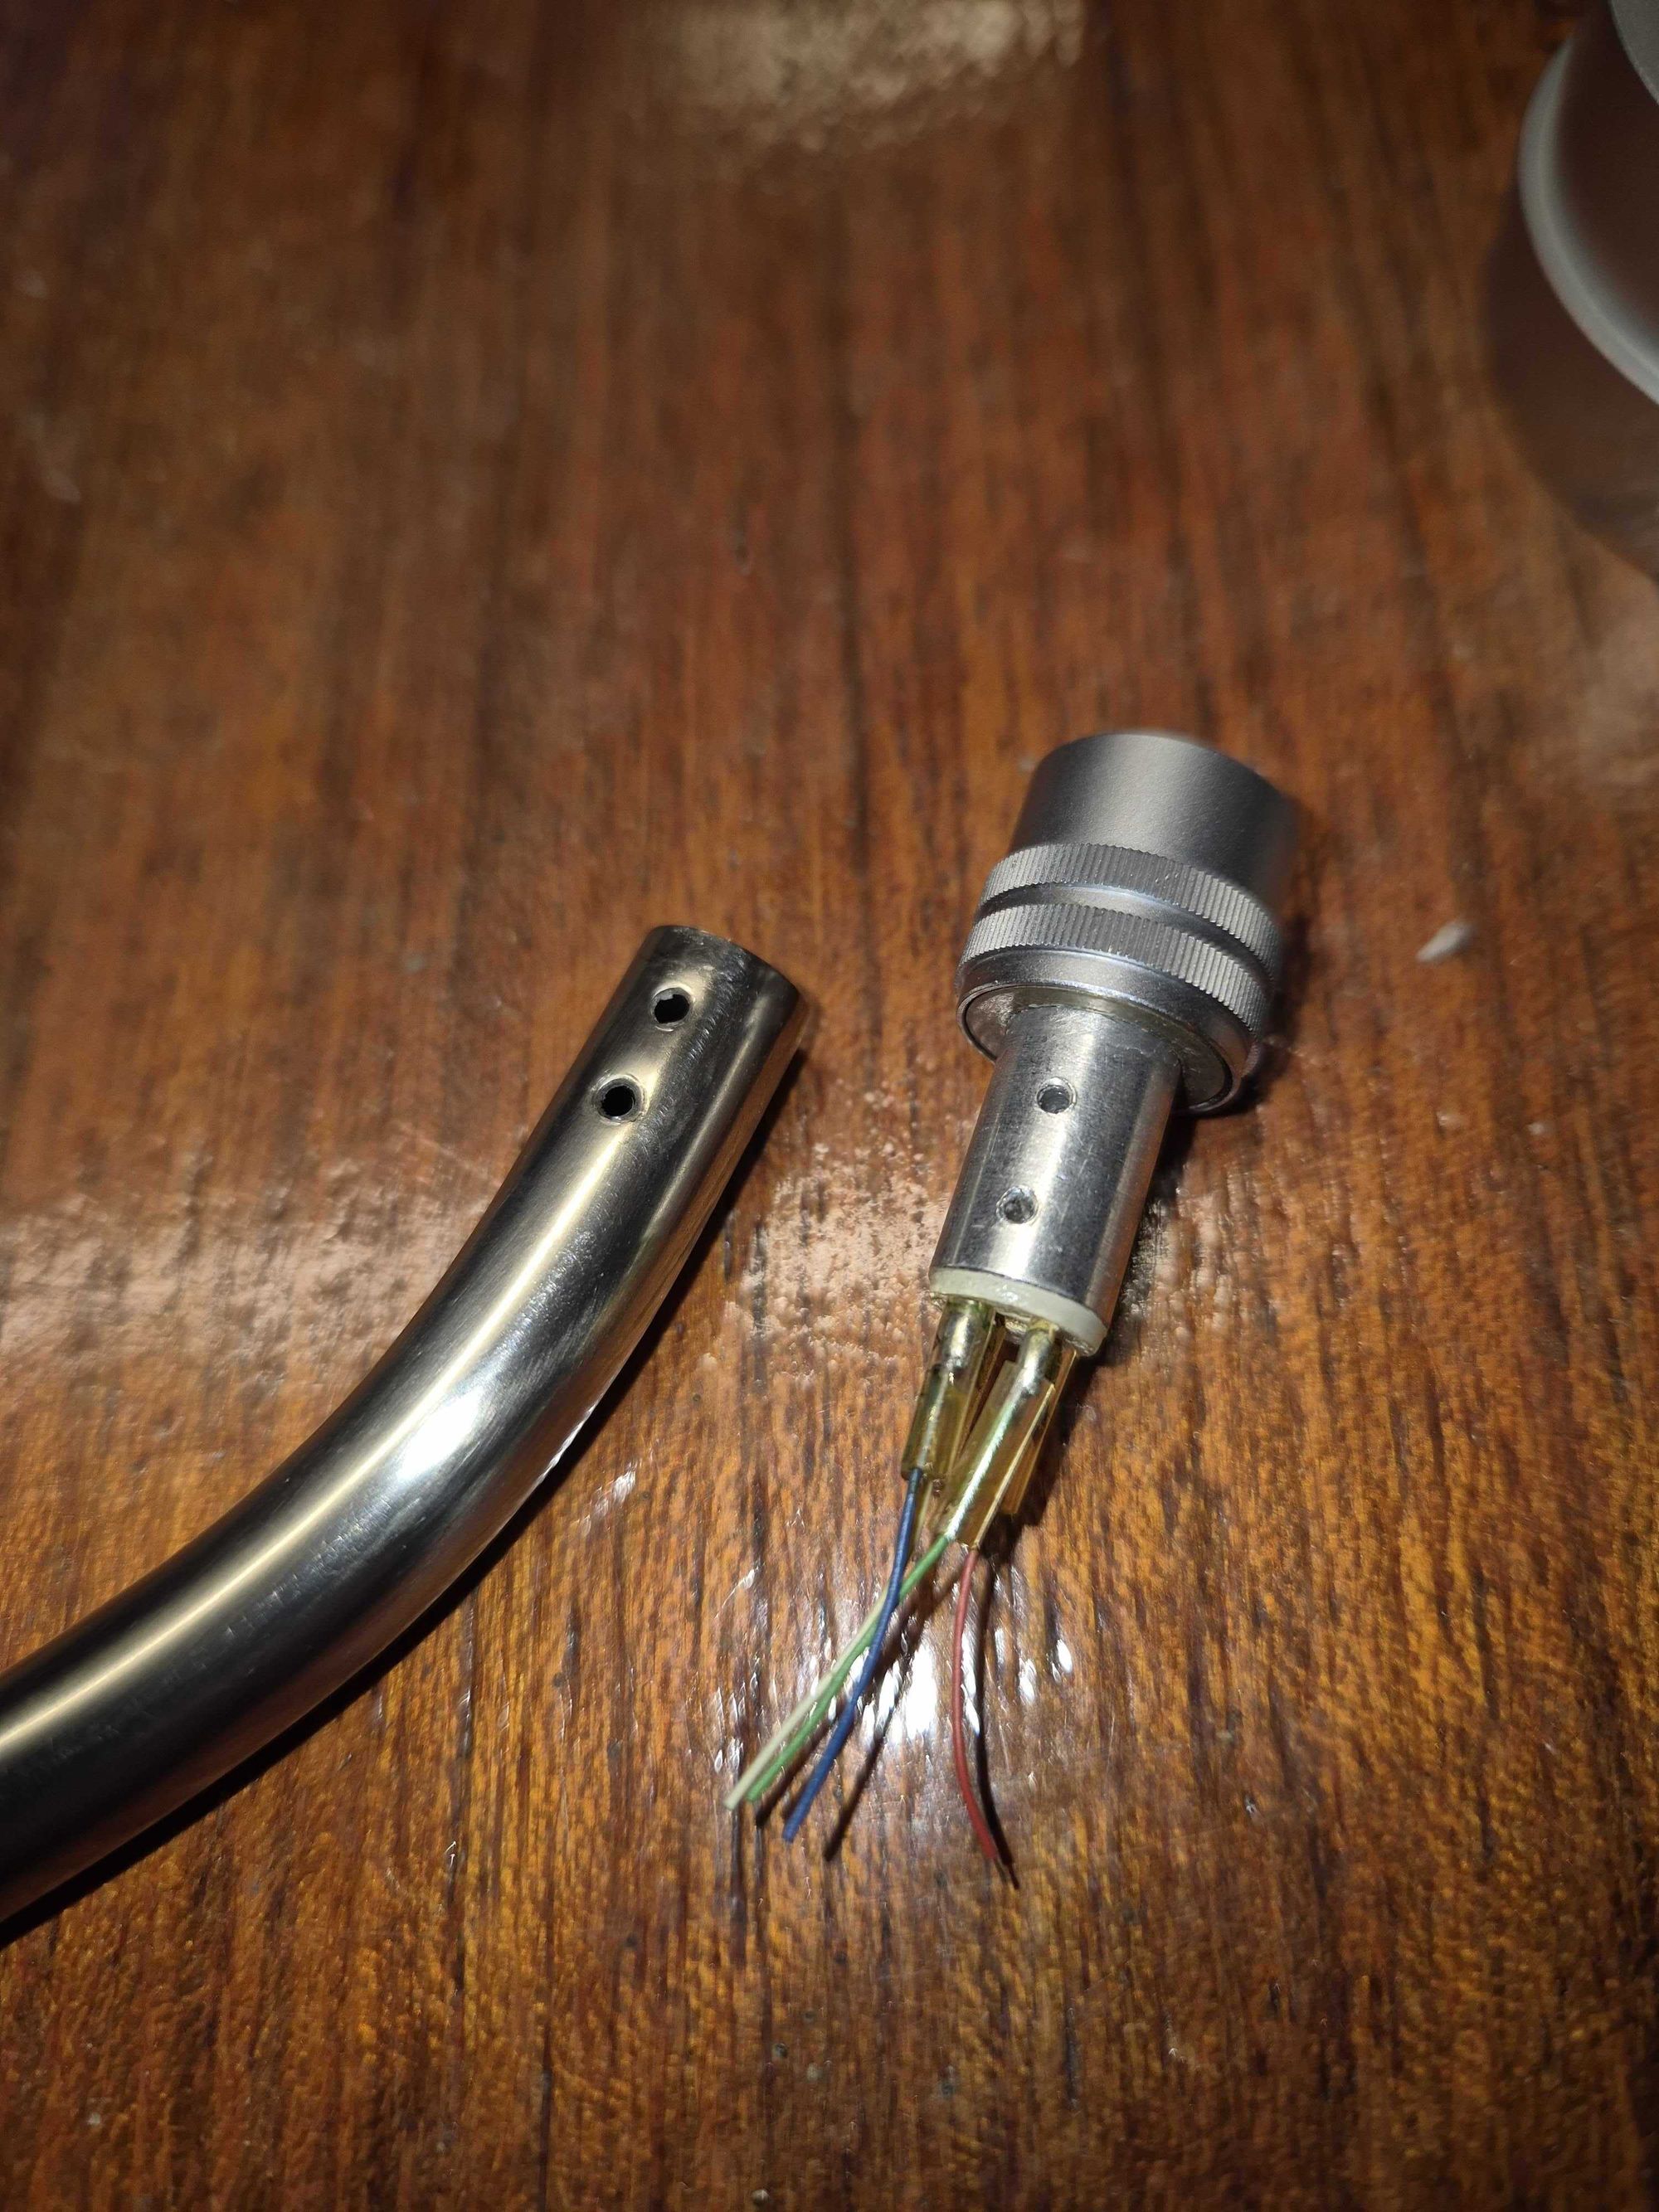
Step 3: Remove the headshell socket
Remove the 2 screws at the top of the arm.
Now the hard part - pull the headshell socket from the tonearm. I wasn't able to do this by hand instead I leveraged screwdriver holding it parallel across the base to help me slowly pull away the socket from the arm.
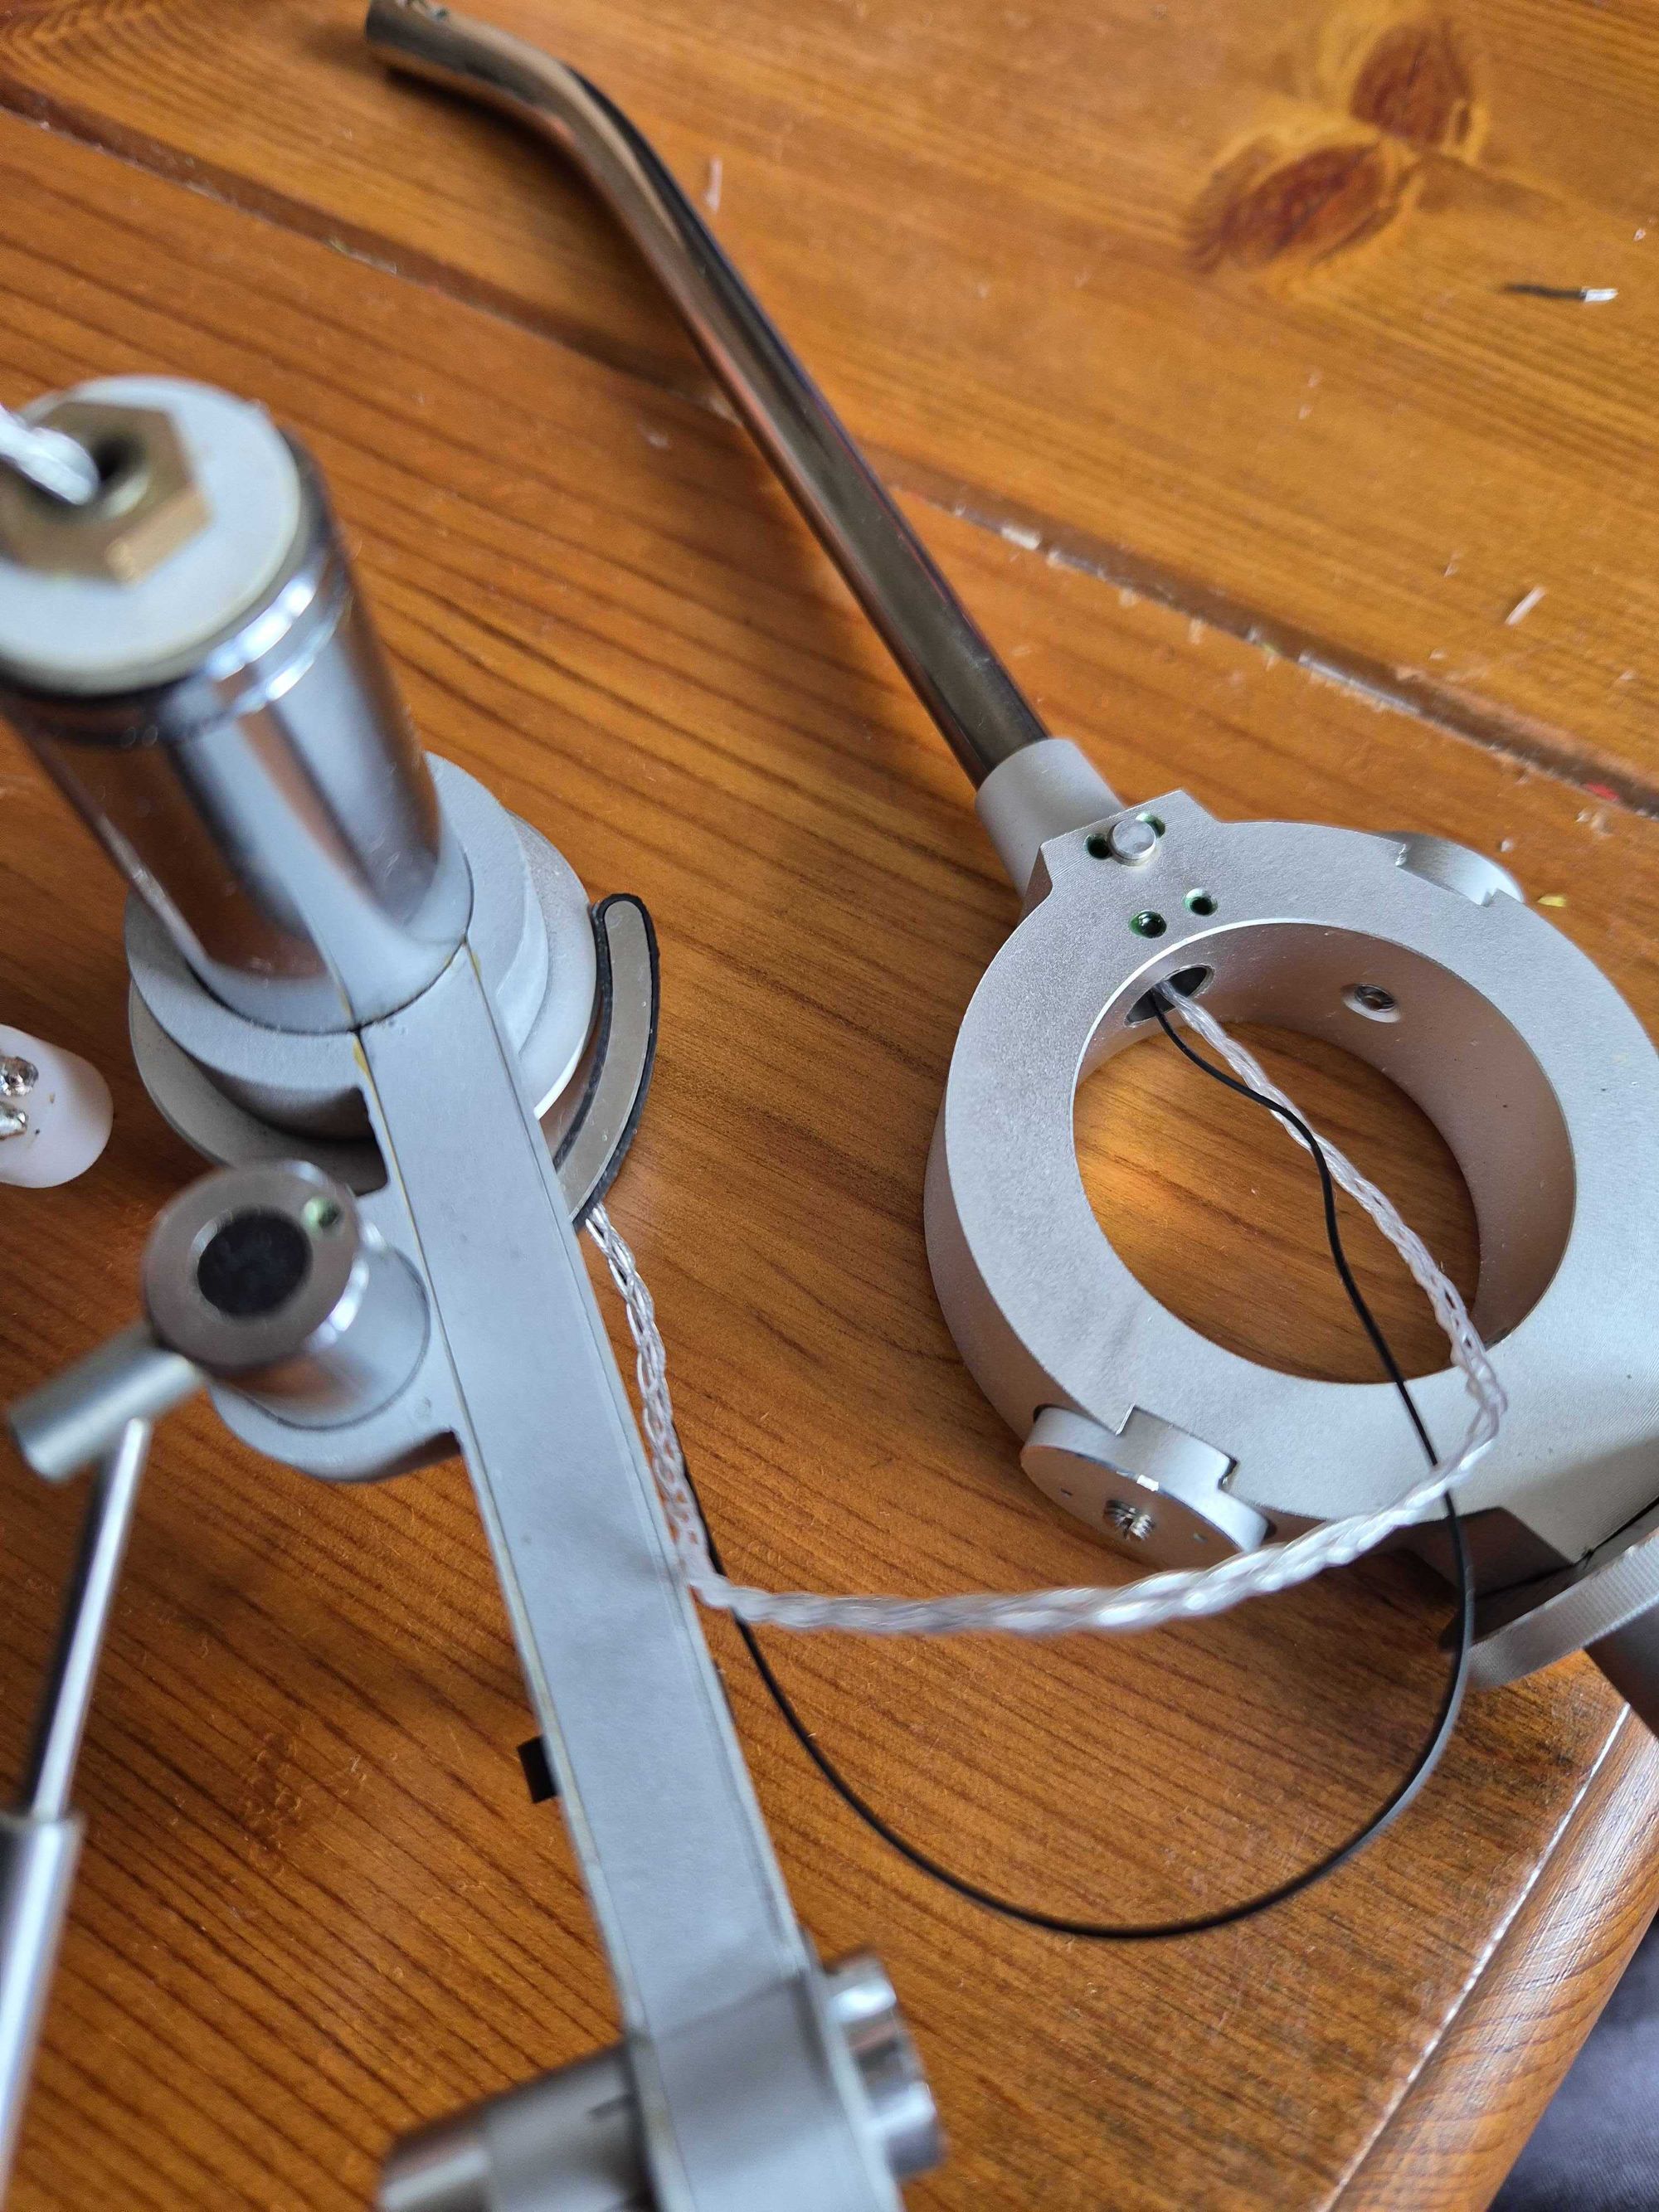
Be careful you will most likely break a cable at this point.. my cables were again slightly tangled with the tonearm grounding clip.. thinking about it.. It's probably best to try to remove the clip first located at the base of the tone arm - the shape suggest you can use pliers to easily compress and remove this clip.

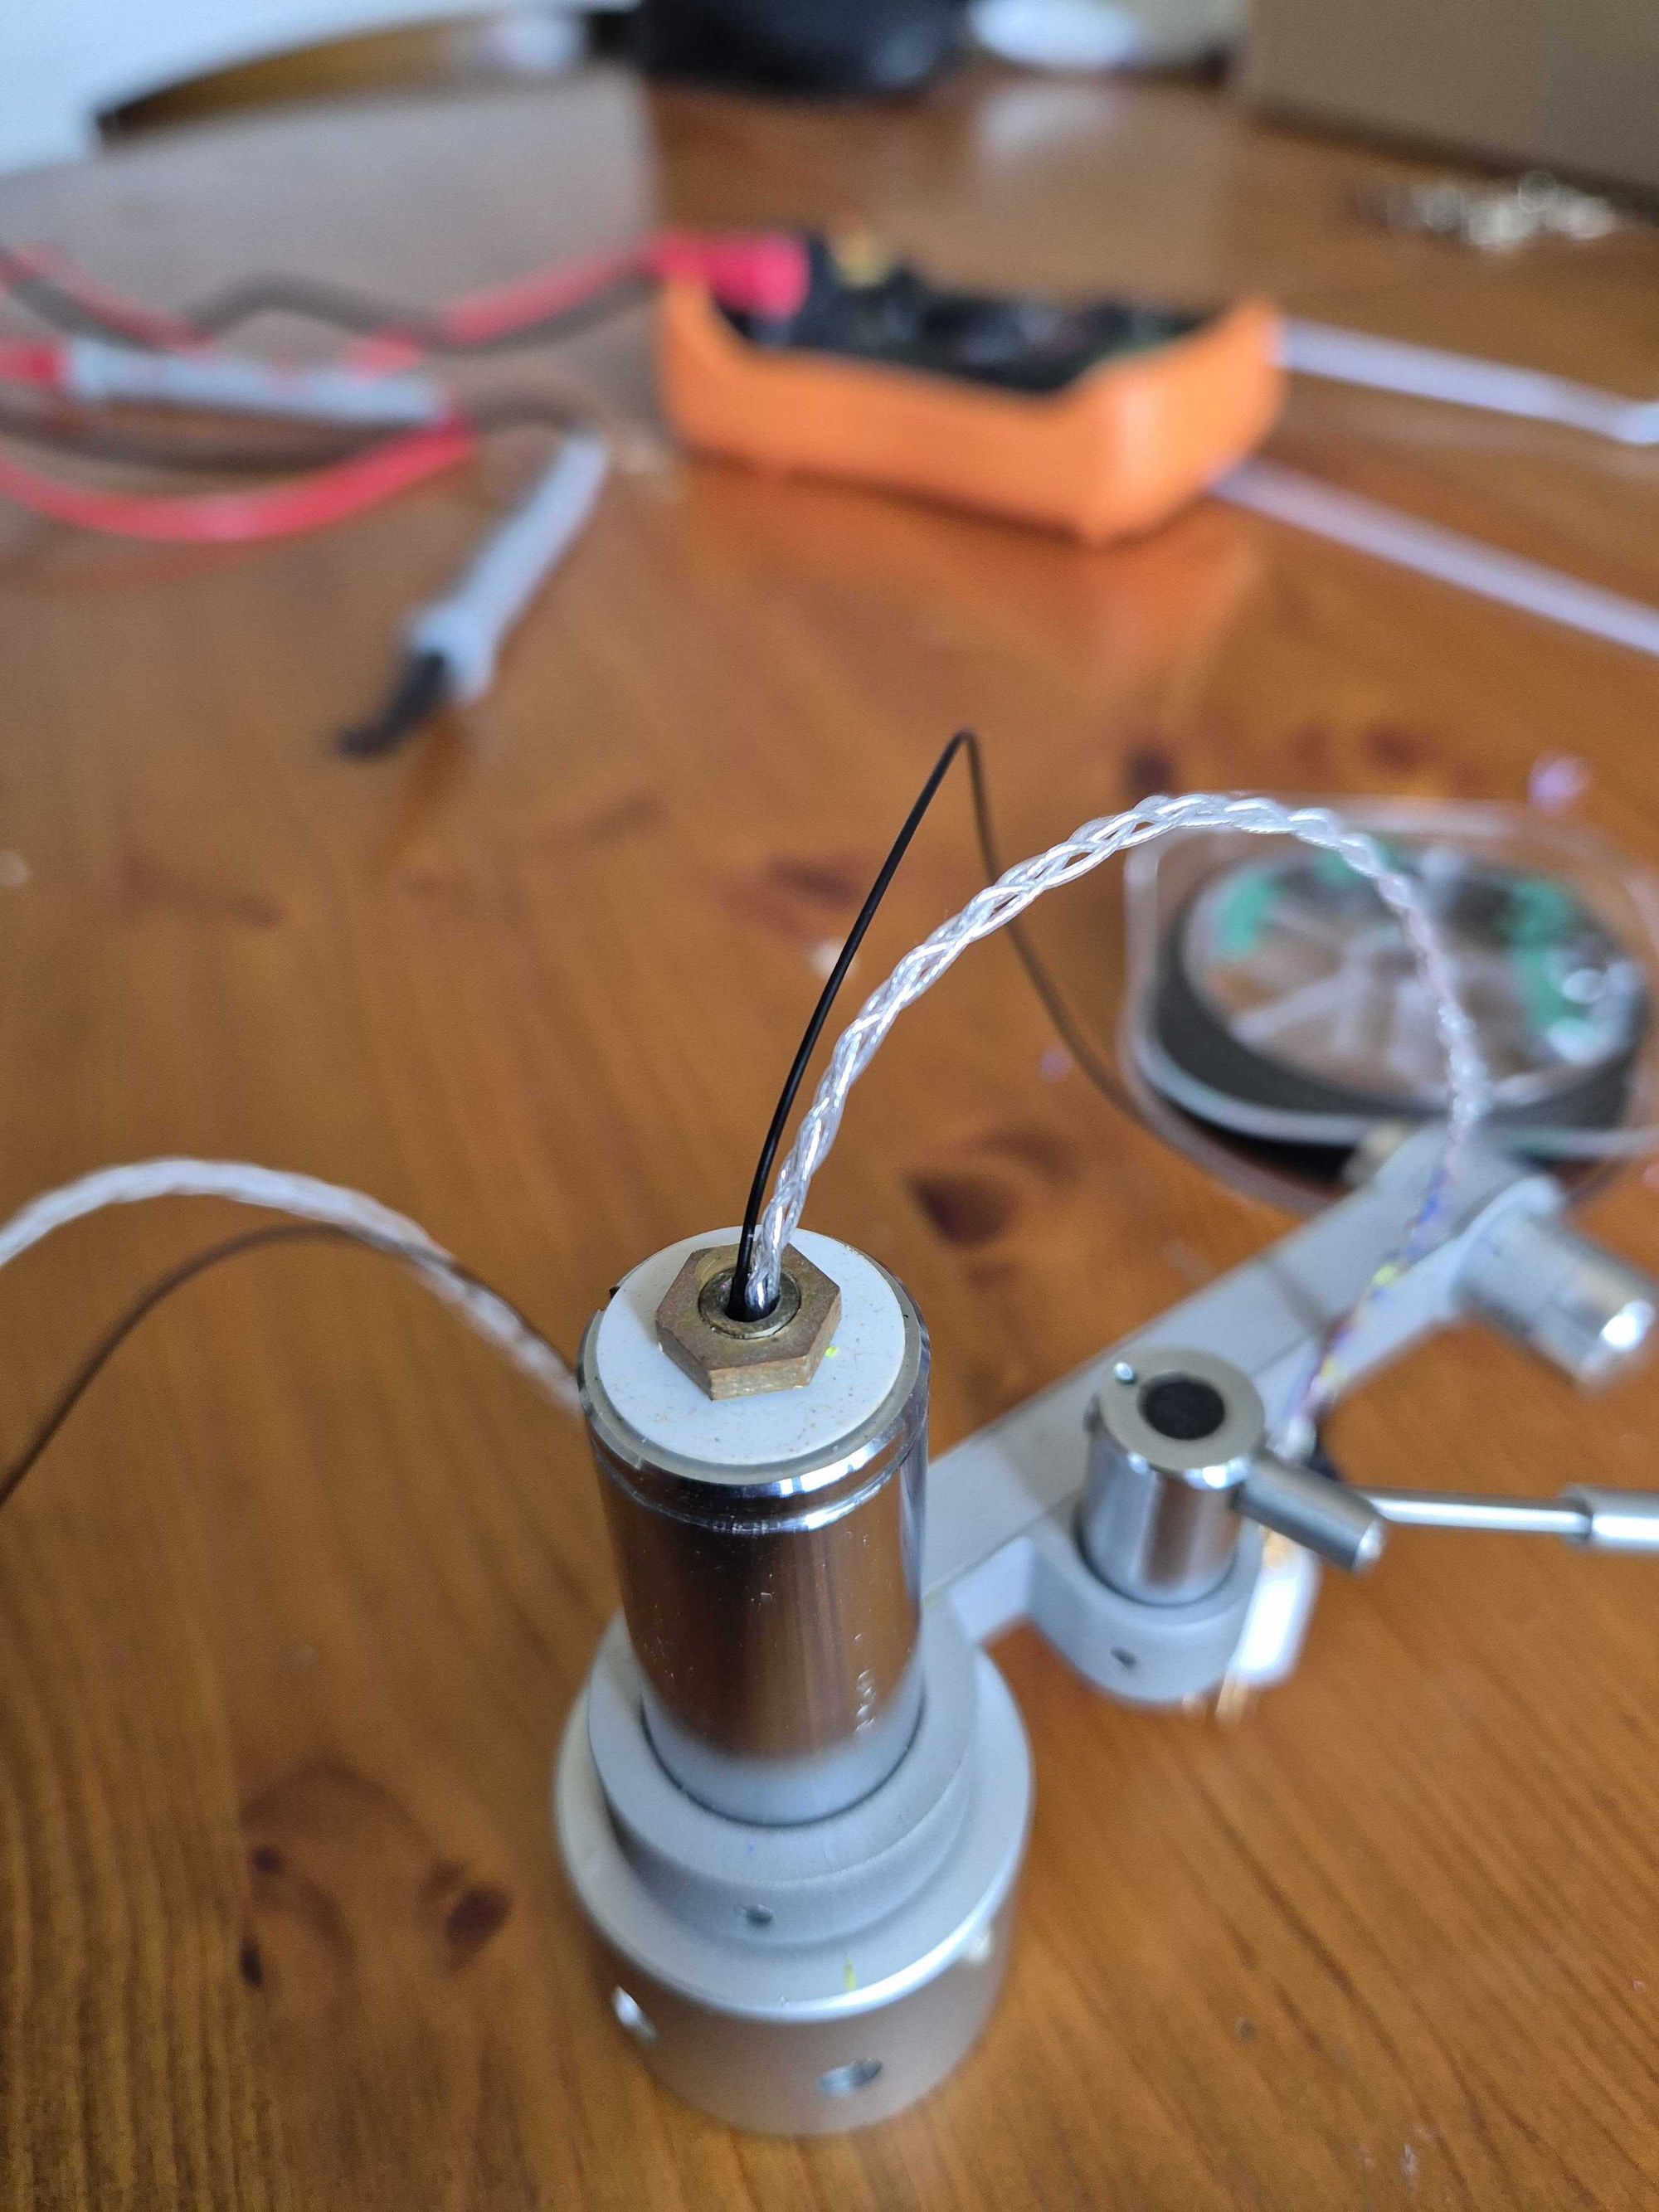
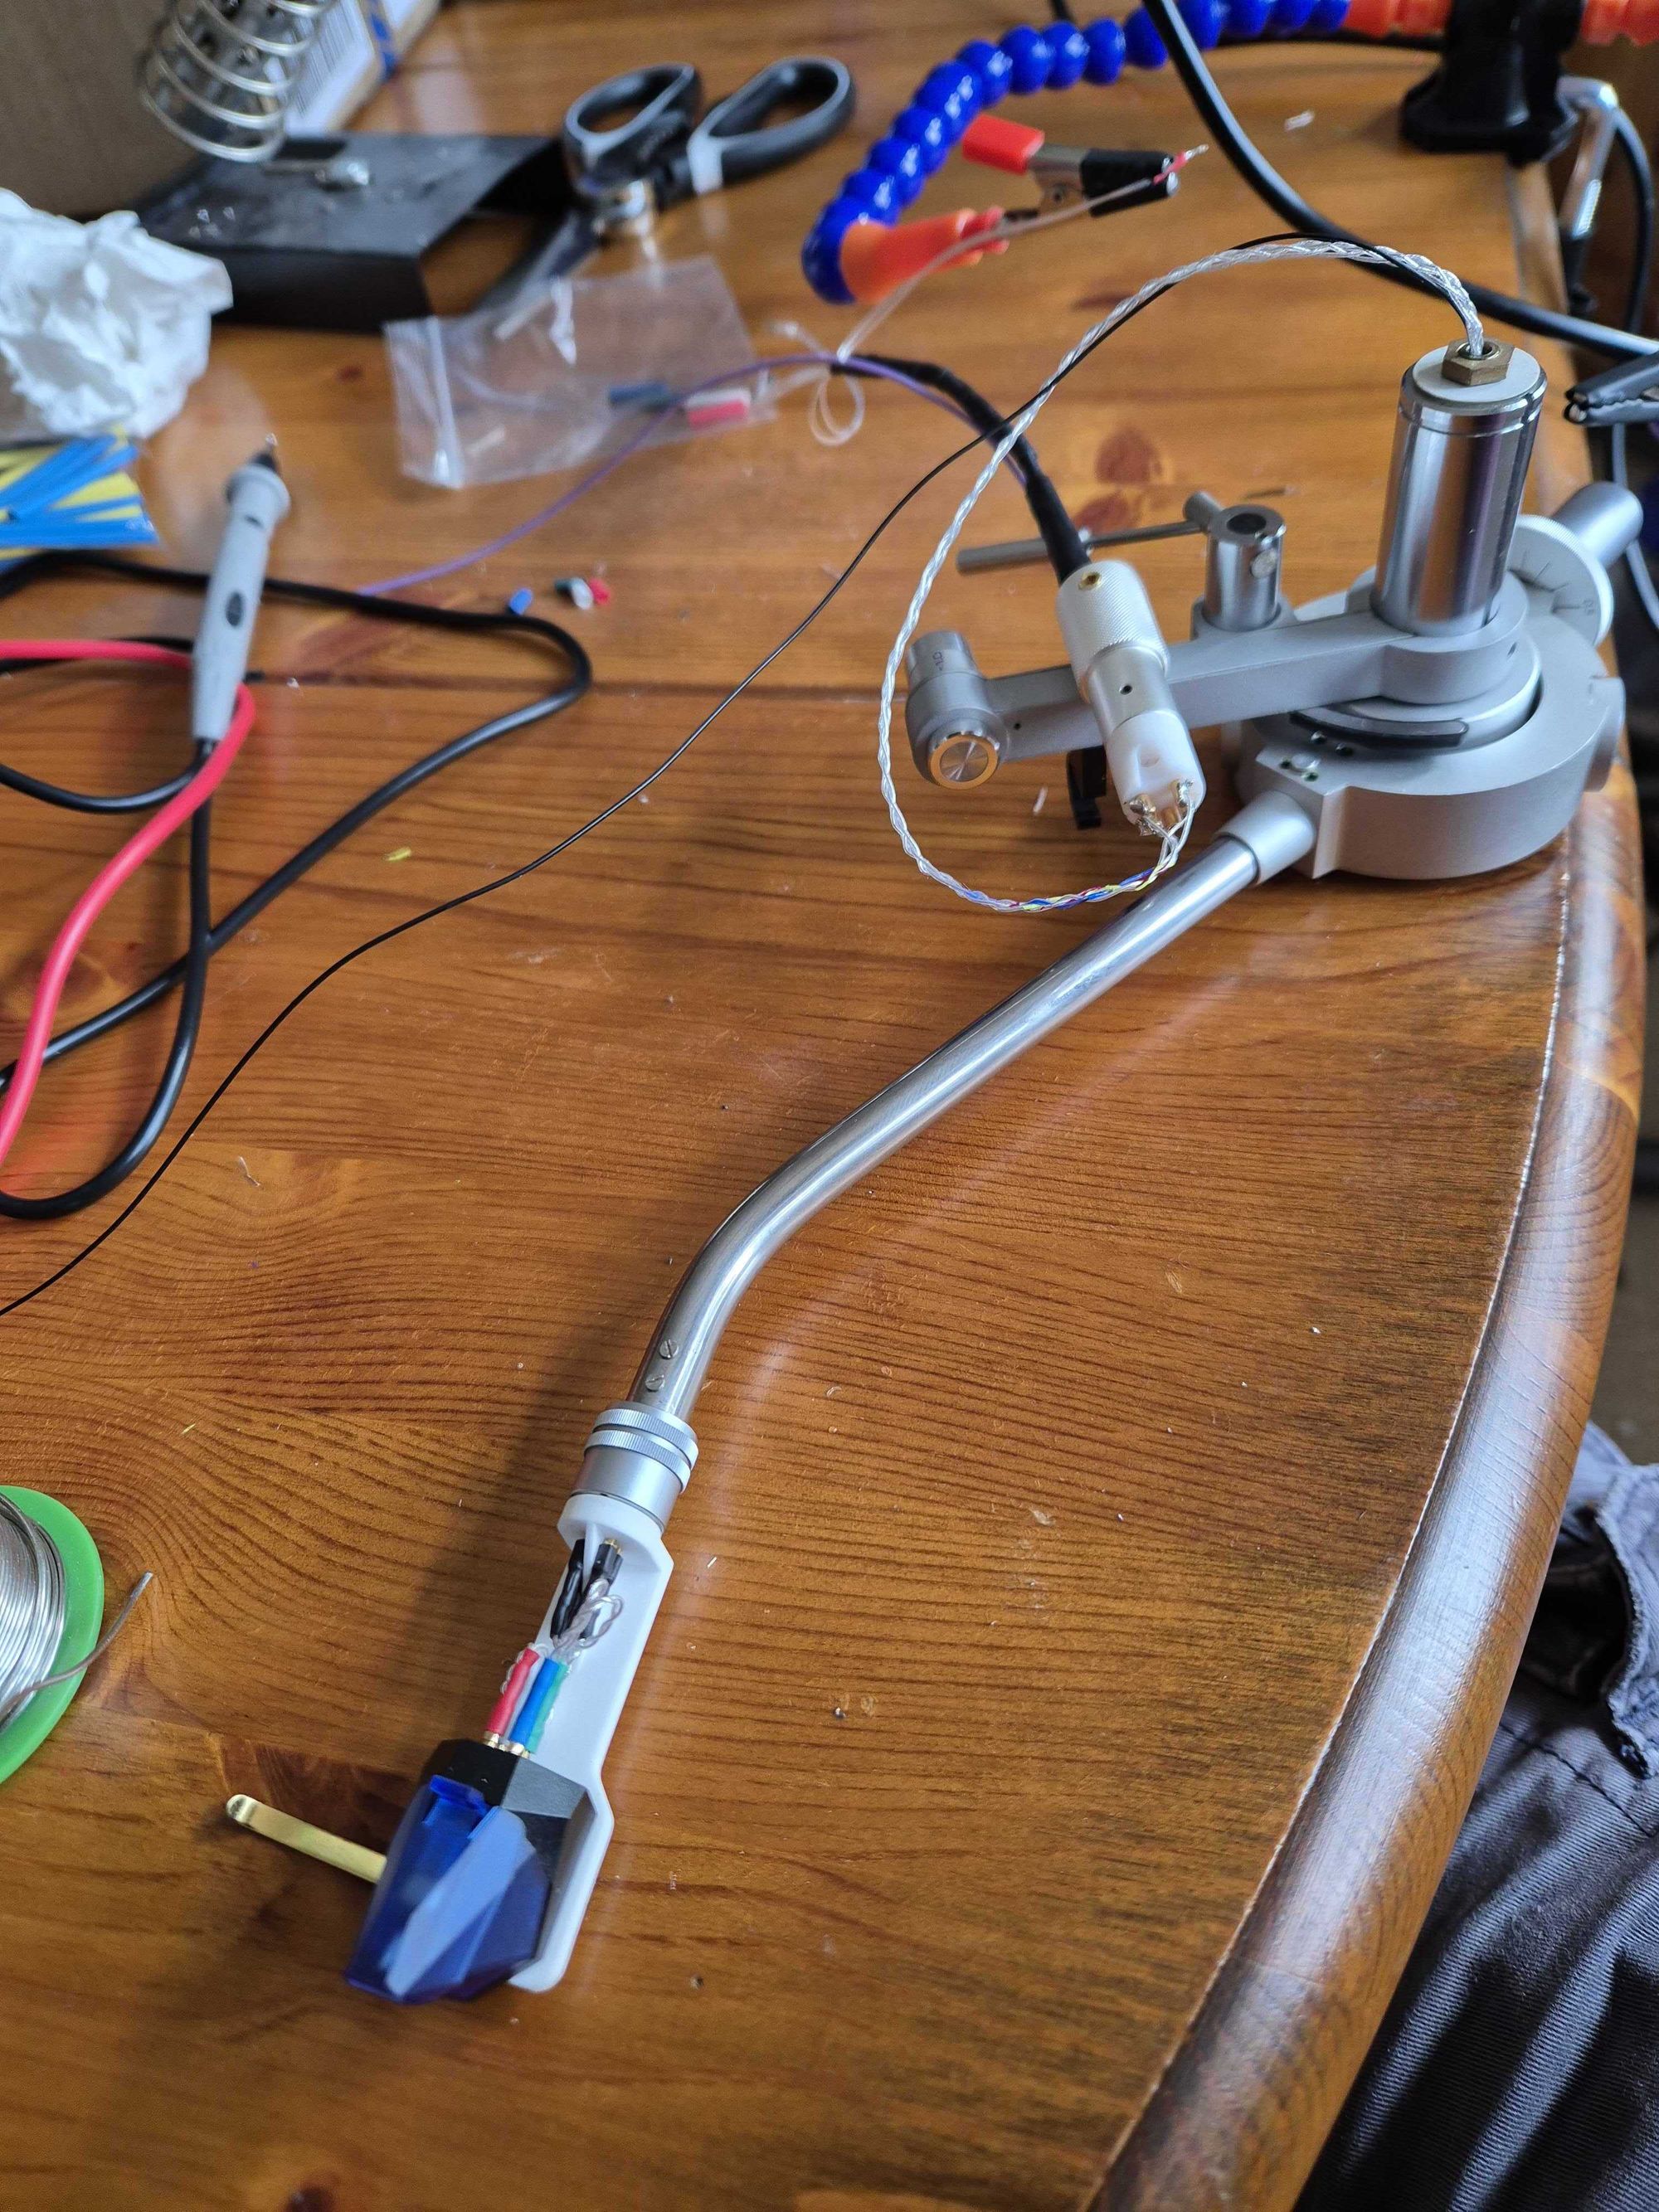
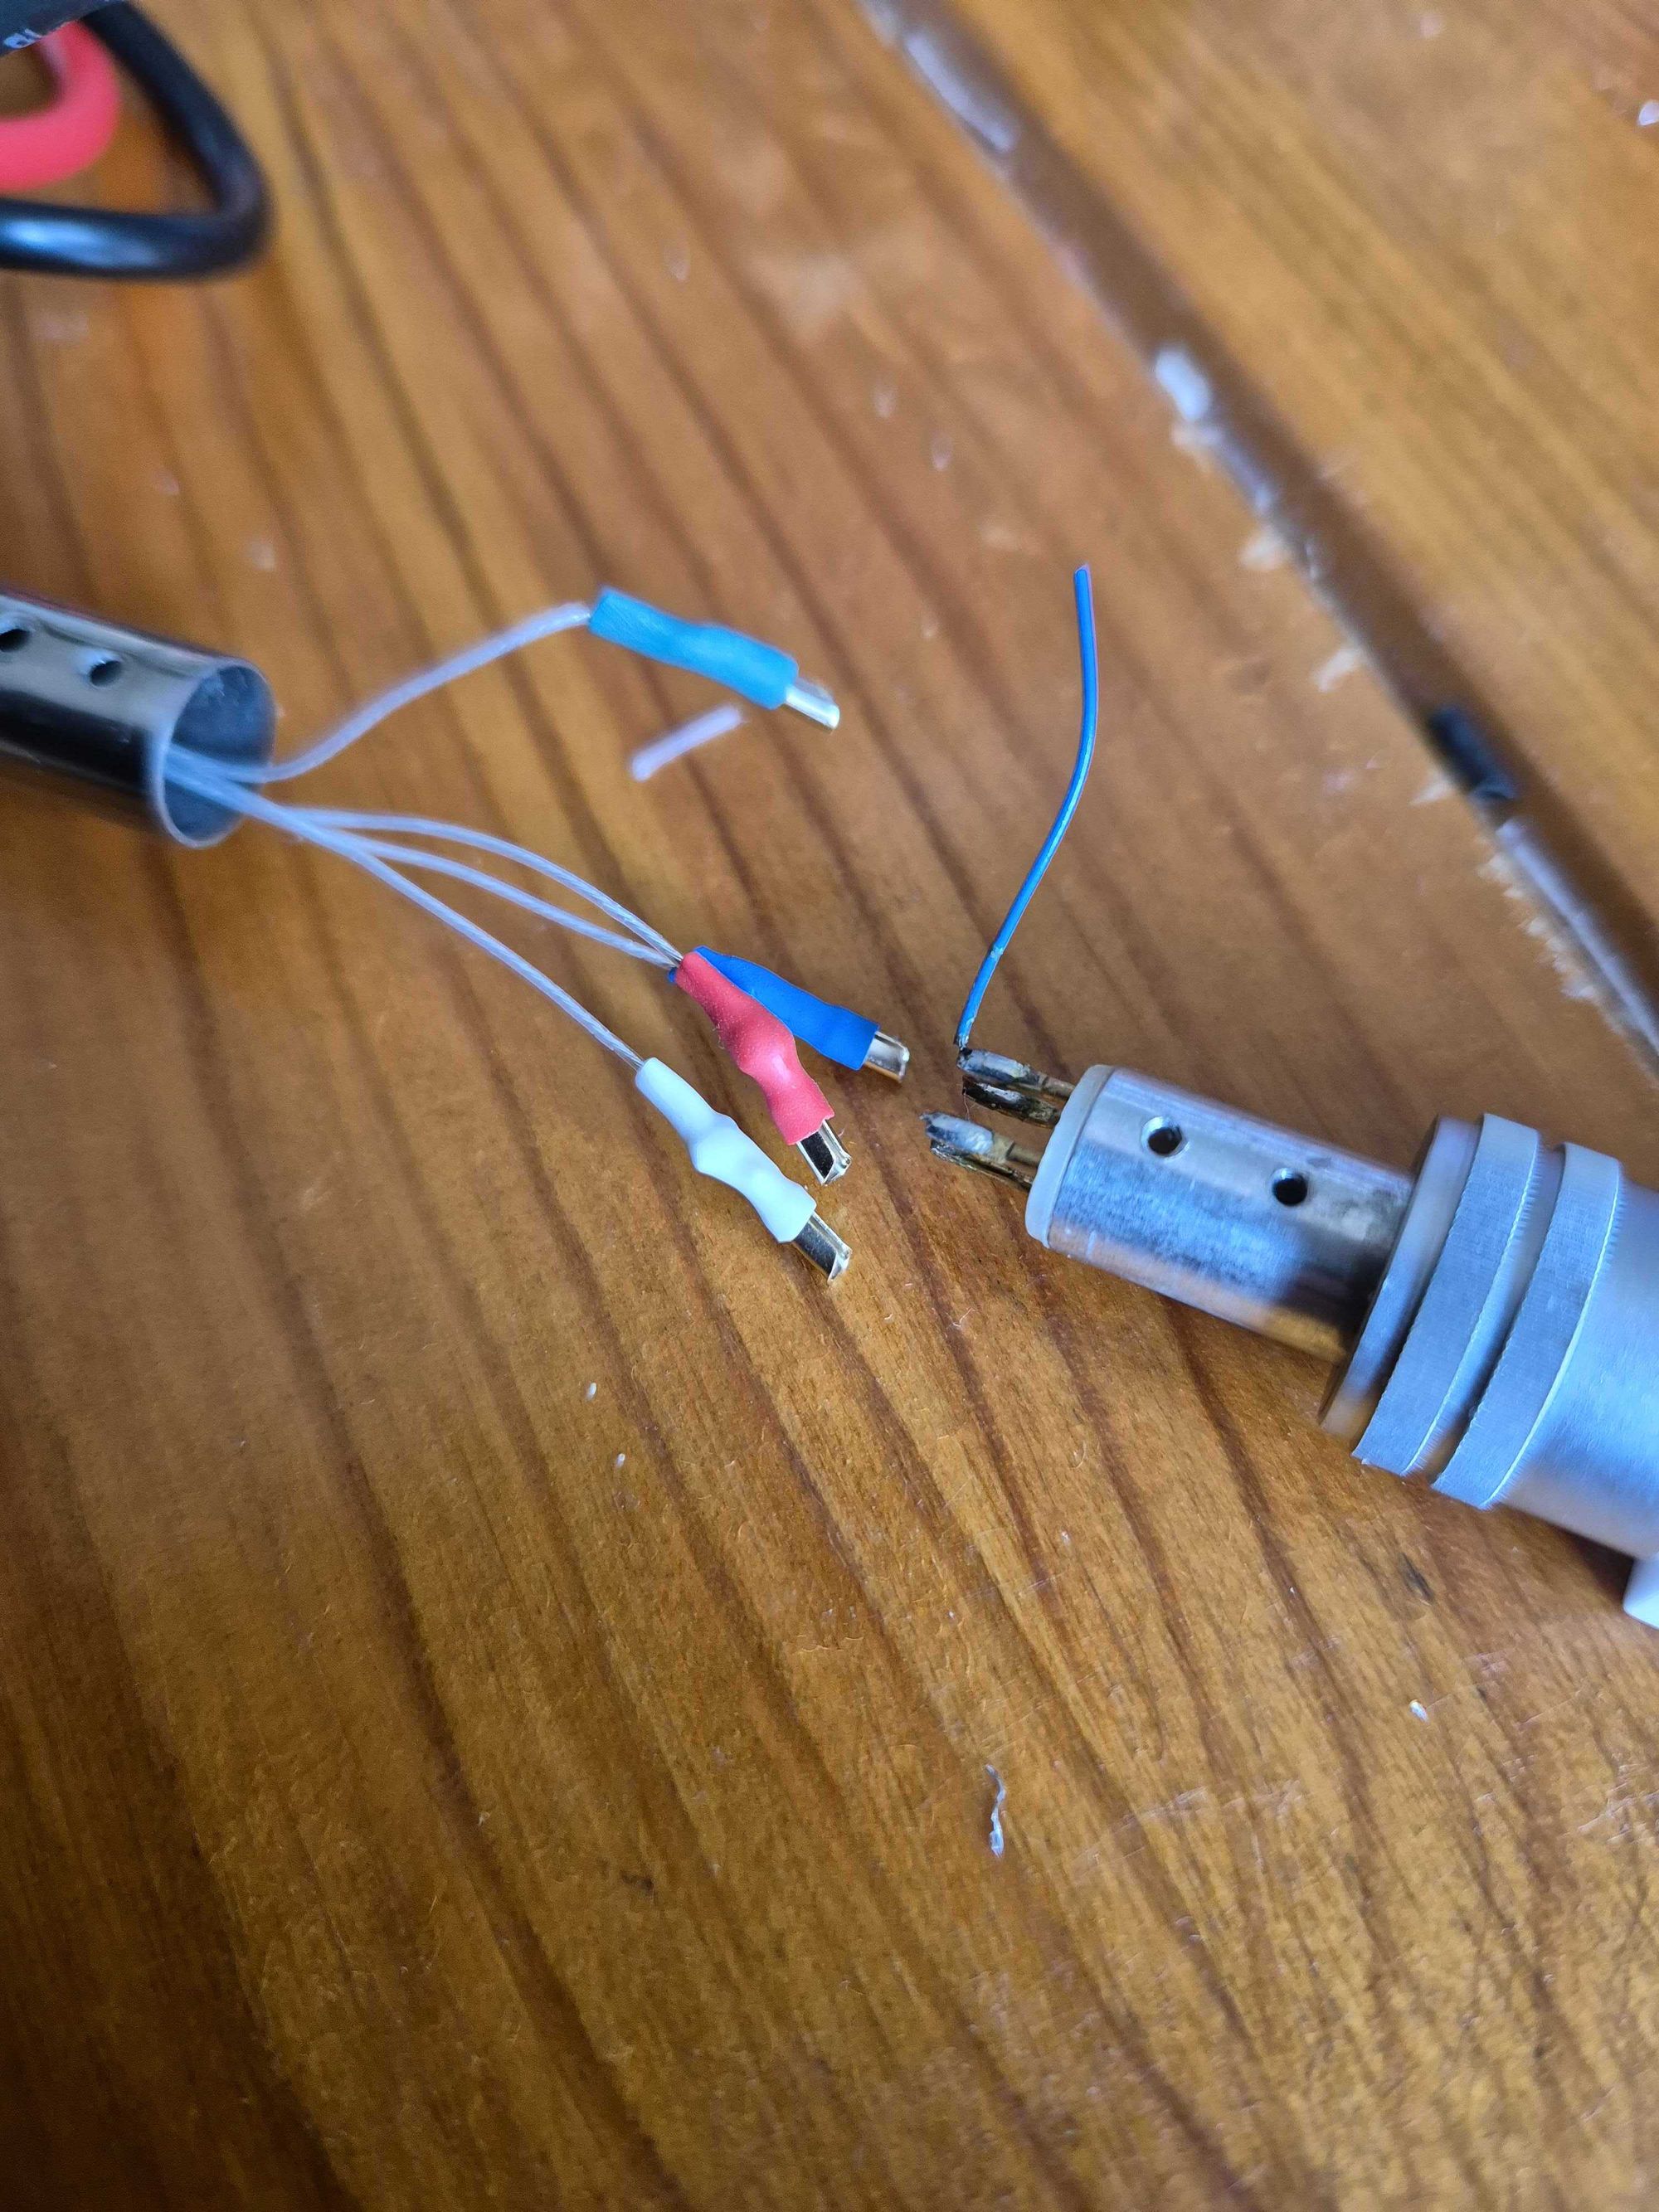
Step 4: Attach the new cables
I doubled up each of the 4 connections with 50cm litz cable twisting each pair and threading it all the way back to the base. The grounding cables I replaced with 24 awg copper wiring.
Threading the cables back up the base was relatively easy using some fishing wire; thread the wire down the base when it reaches the bottom use a screwdriver through the base hole to help it twist 90 degrees and then attach the cable to the wire and pull back through the base.
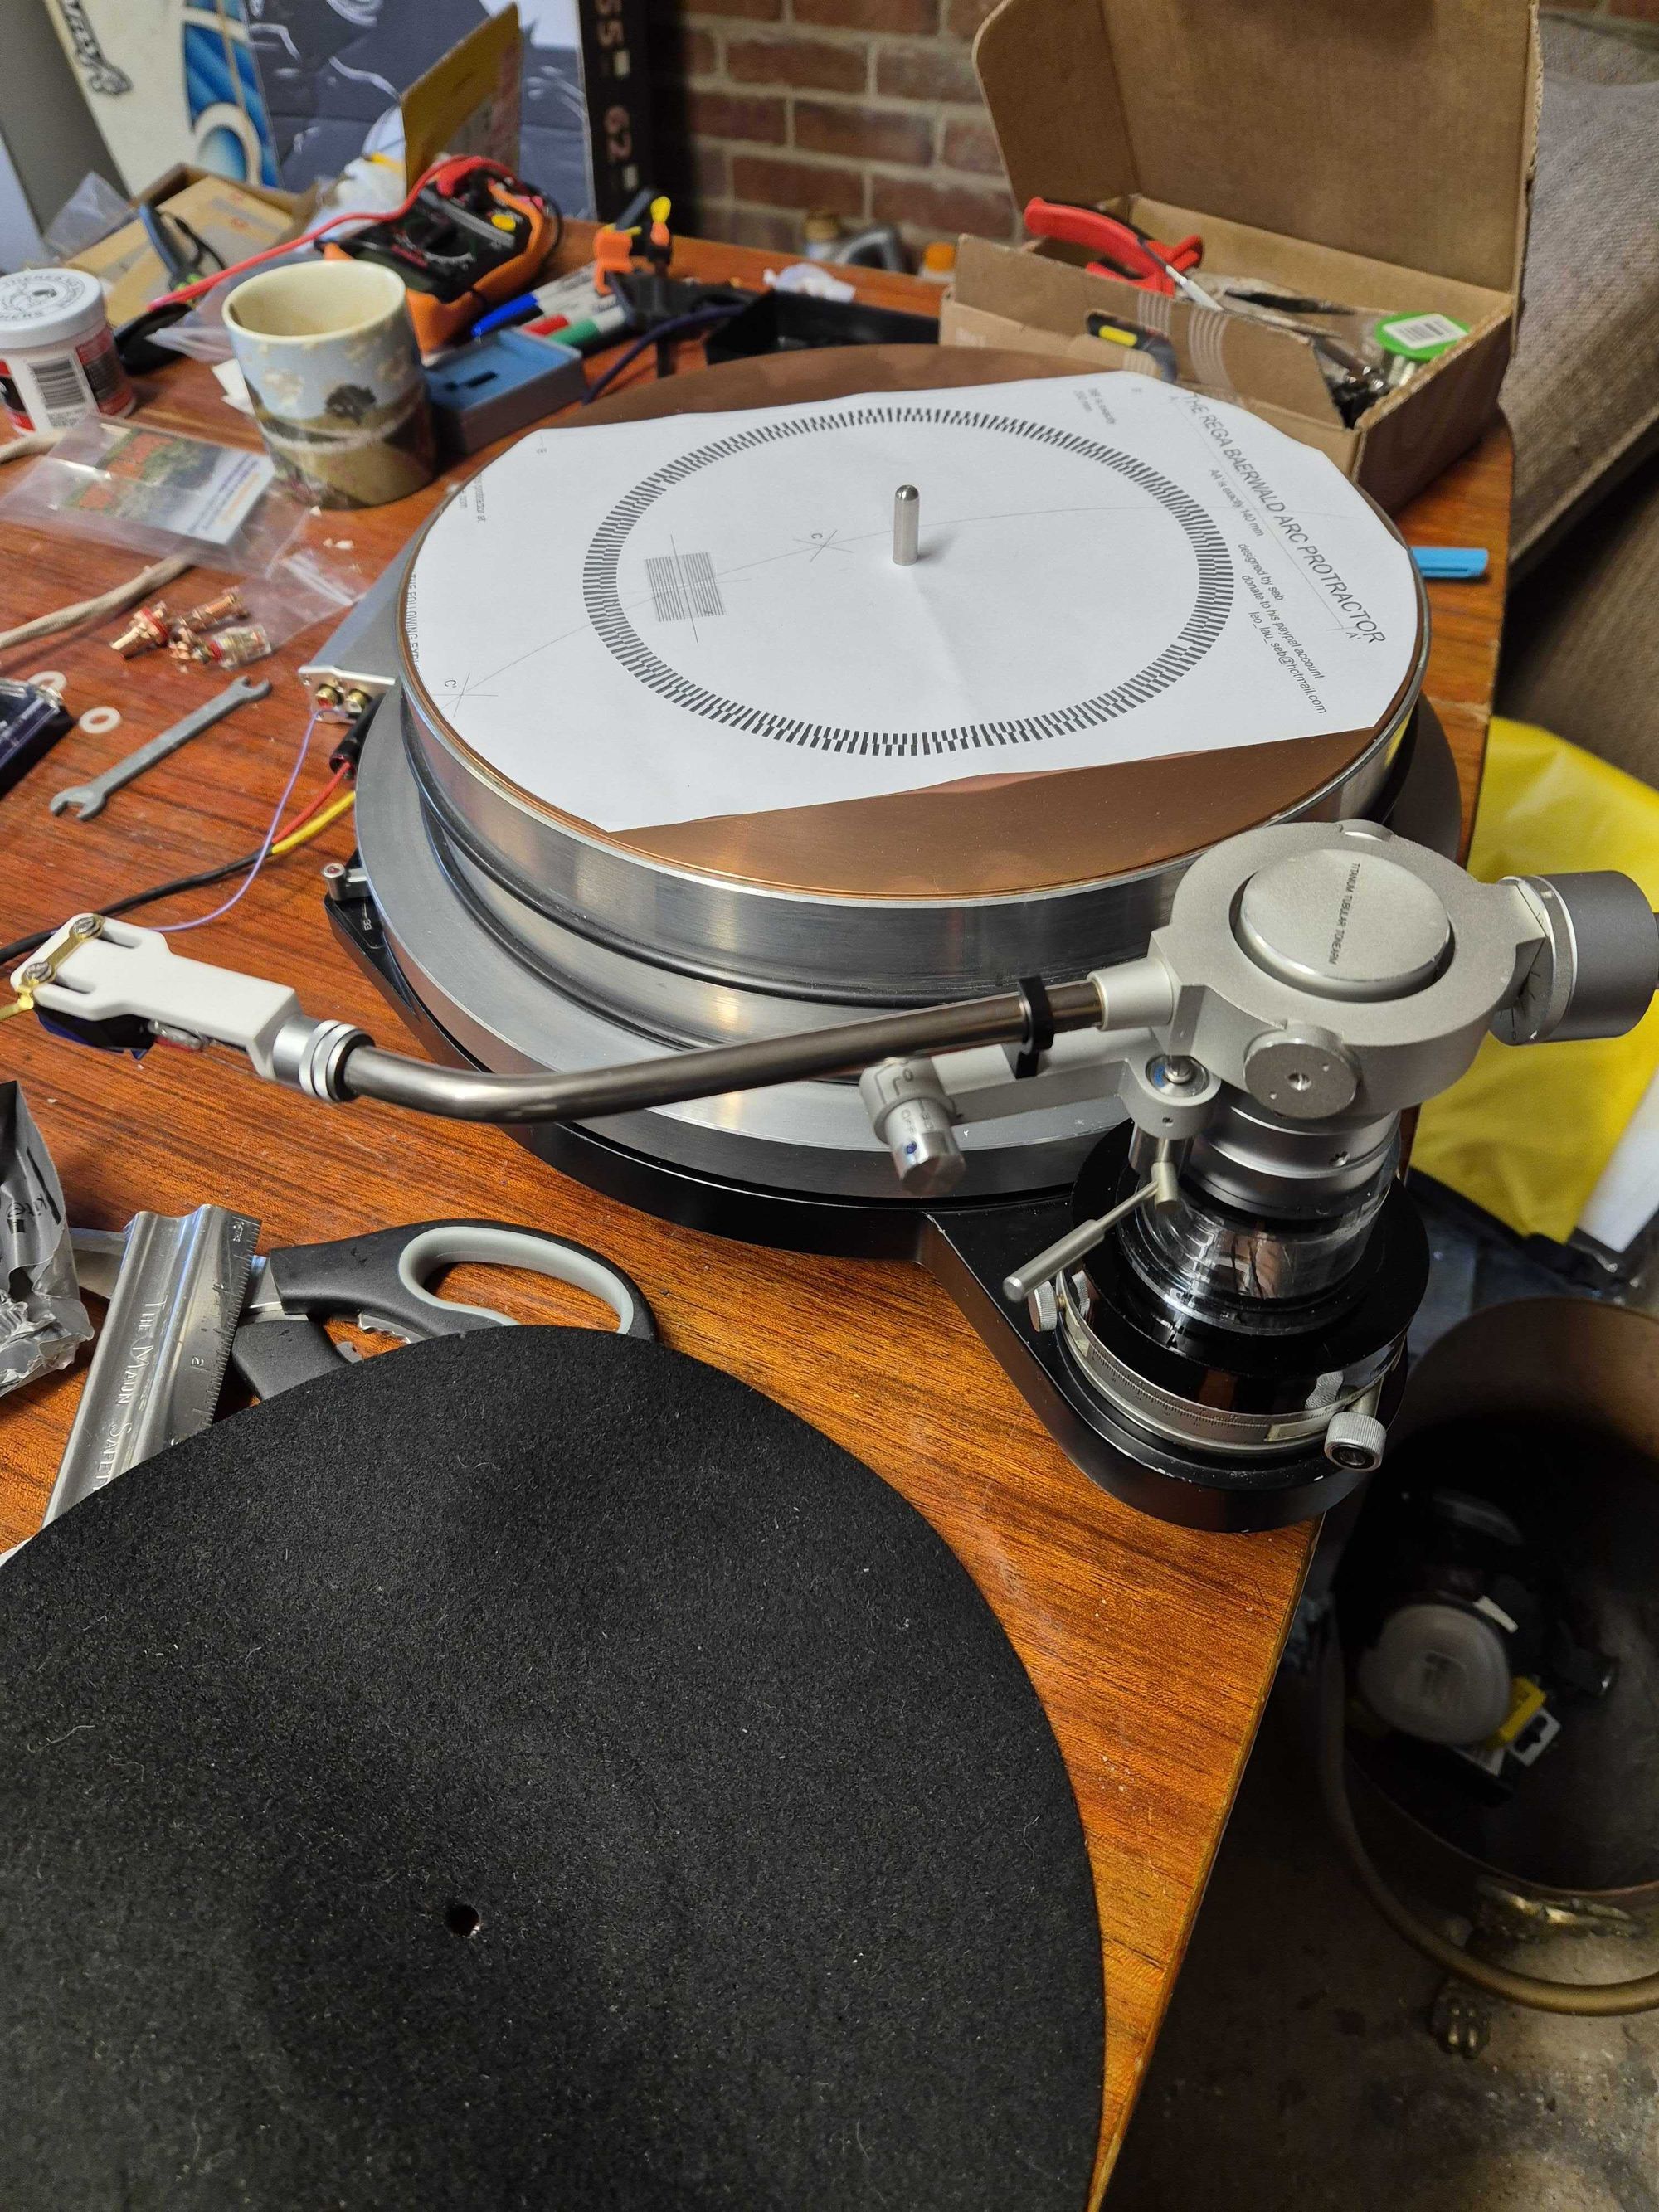
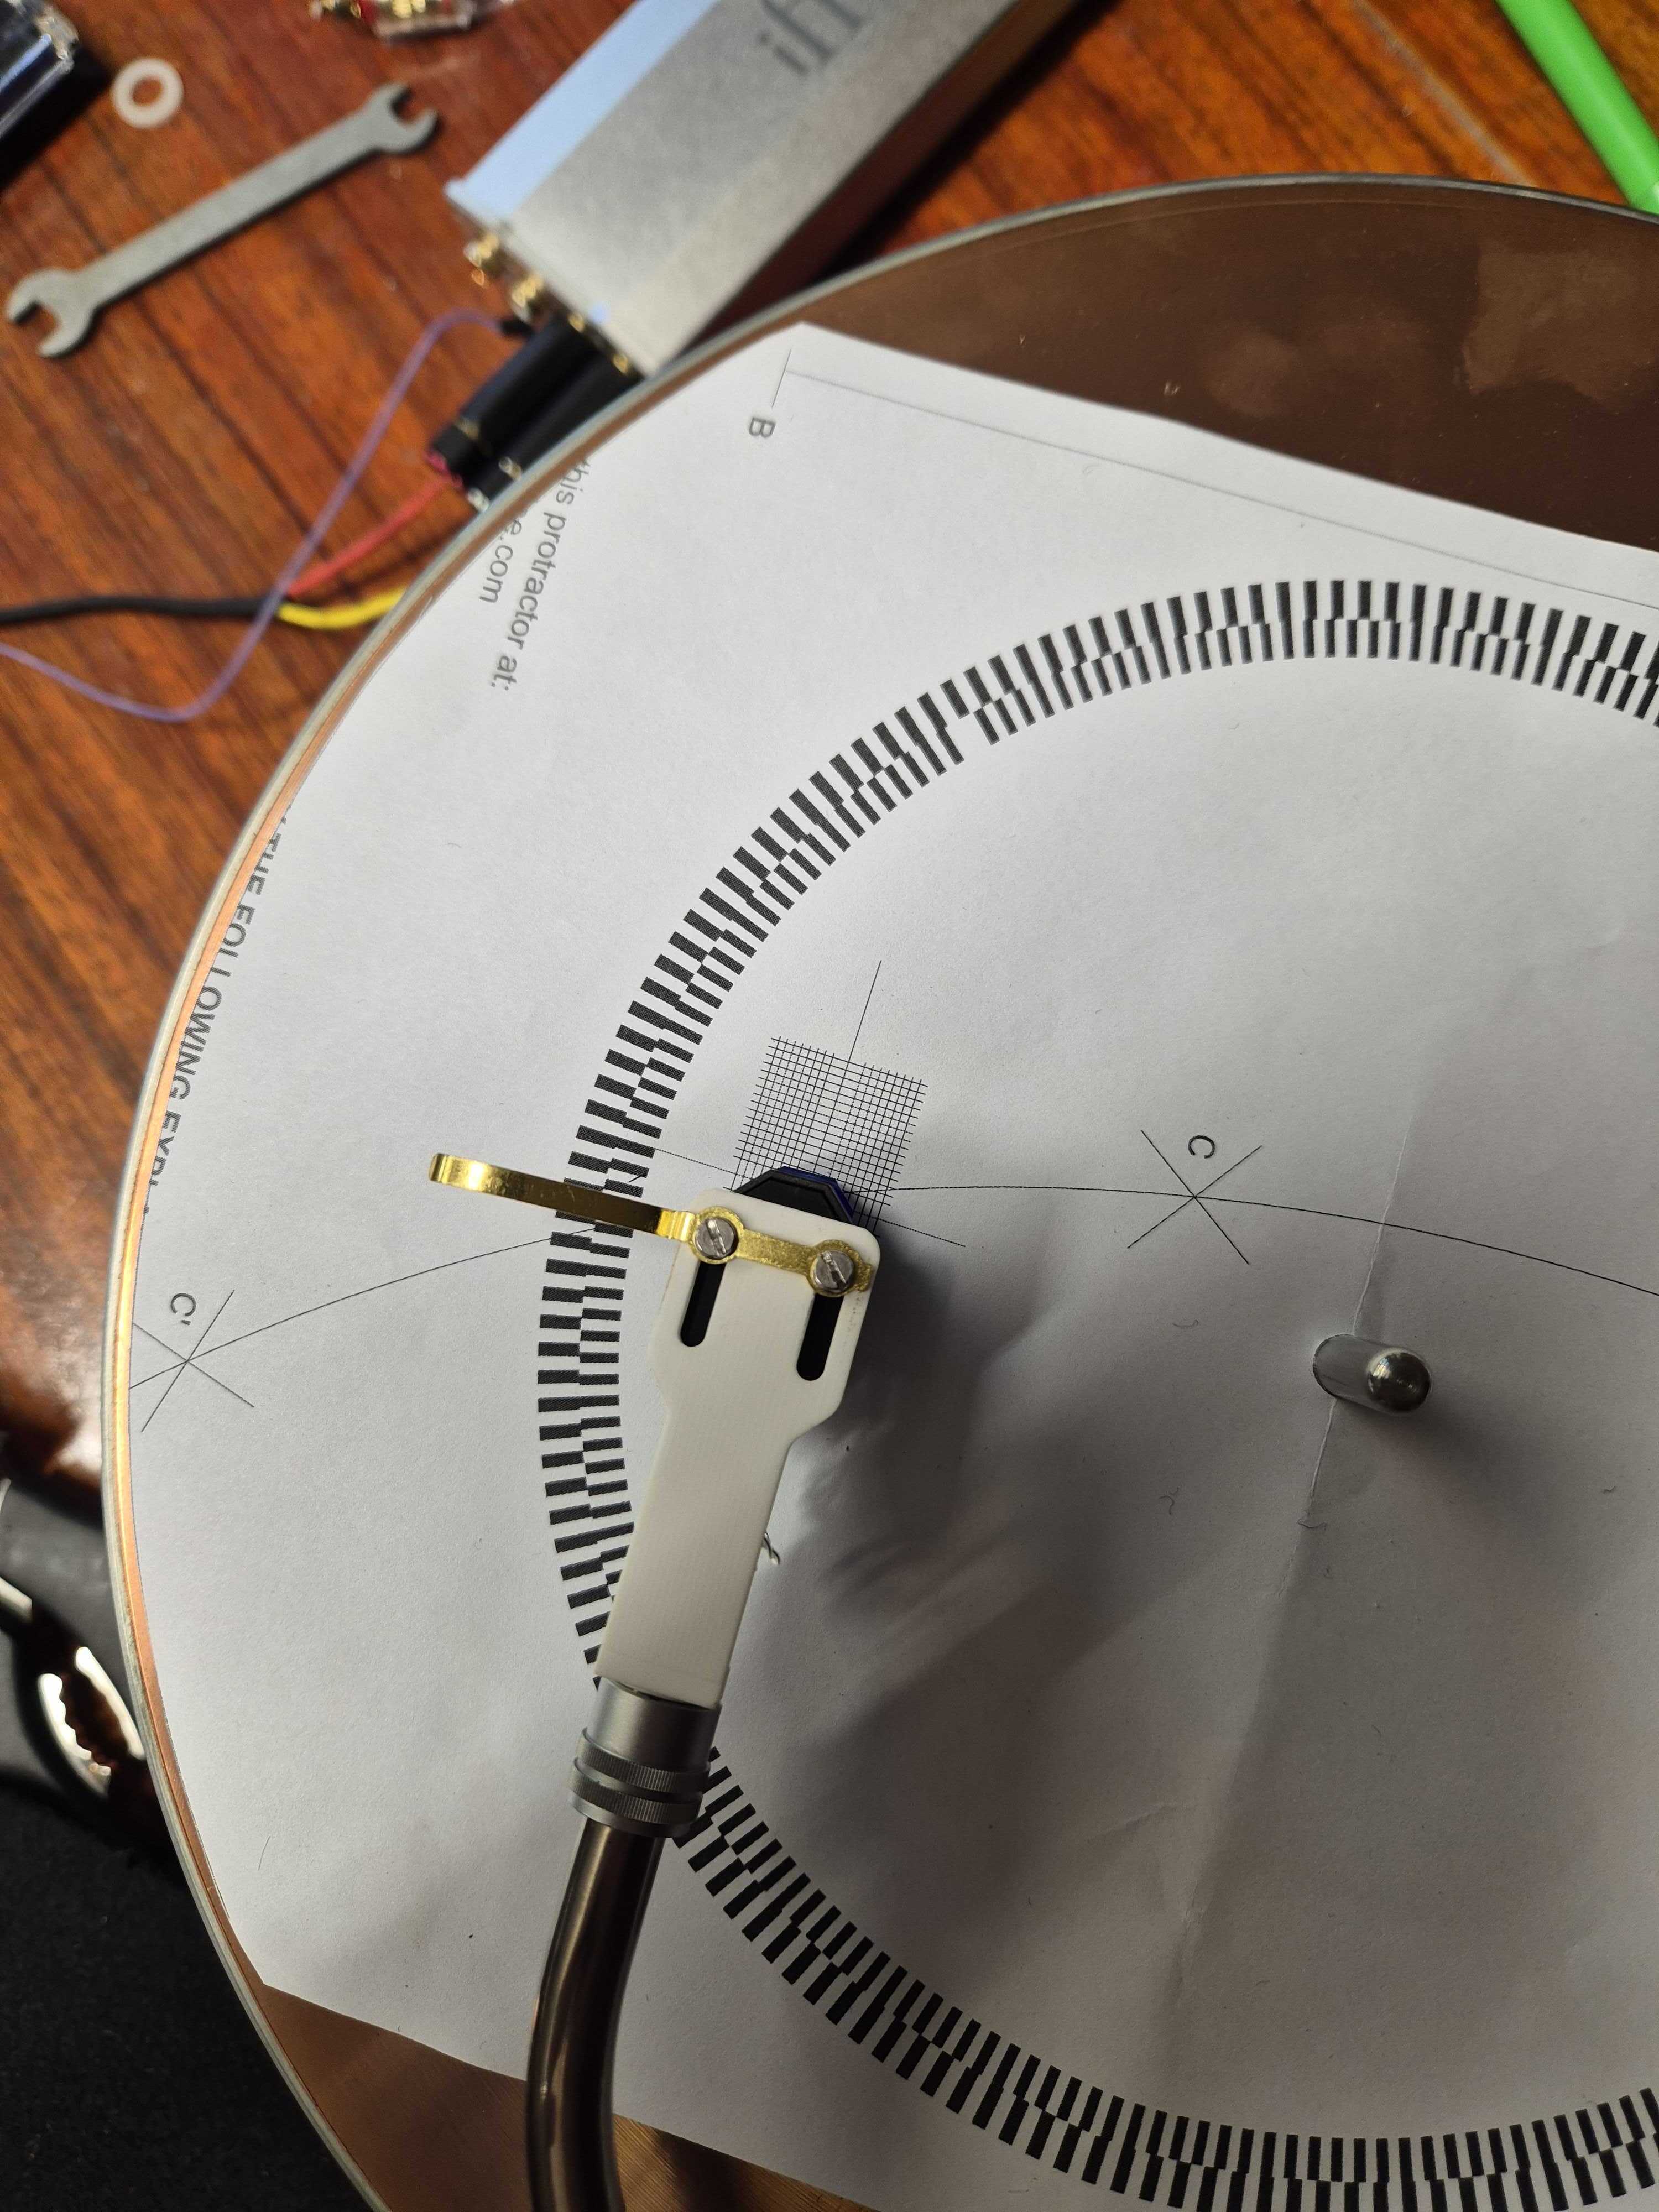
Gallery
A few more pictures of progress on rewiring the arm and checking alignments..