Enhancing the OCM Development Toolkit for Faster Content Form Development


If you develop on OCM you know that sometimes it can be challenging and time consuming to develop components using the front-end frameworks we all love.
I'll be sharing what I do to make development of components in this case a Custom Content Form a little easier by enhancing the OCM Toolkit and enabling local component development with features such as hot or autoloading of the page (ie as you make code changes to the component the component auto refreshes) and then how we can then build publish and deploy a component with NPM through to OCM.
We are going to run through the following three steps -
- Configure and update the OCM Toolkit
- Create a new empty OCM Form component
- Setup Svelte as component instance with live development area
- Add a component script to support auto build and publish to OCM
Configure and update the OCM Toolkit
Open up your OCM Toolkit Sites folder - if you haven't installed the Oracle Content Management Toolkit - I've got a quick guide here.
Now we will install a proxy library - this will allow us to run the toolkit development instance and load in our component development instance.
# goto you toolkit folder
cd $:\\[toolkit]\sites

# Install express proxy lib into the oce toolkit
npm install express-http-proxy --save
Update the route to your components and live dev instance by editing the componentsRouter.js file
$:\\[TOOLKIT_PATH]\sites\test\server\componentsRouter.jsAs an example if I wanted to develop a custom OCM Content Form with hot reloading I'd update the path like this -

Here I have commented out line 131 and updated the path - I could also add a switch or make this more dynamic. The path "/_themes/_components*" will be our new proxy path to our live dev component.
Lets go ahead and setup the proxy library to handle the loading in of our component.. open up the server.js file this is where all the routing is handled within the toolkit.
cd $:\\[TOOLKIT_PATH]\sites\test\server.jsNow replace or comment out.
//app.get('/_themes/_components*', componentsRouter);

app.use('/_themes/_components/SA-Global-Content-Formv2', proxy('localhost:3000', {
    proxyReqPathResolver: function (req) {
      var parts = req.url.split('?');
      var queryString = parts[1];
      var updatedPath = `/_themes/_components/SA-Global-Content-Formv2${parts[0]}`;//parts[0].replace(/_themes/, '');
	  console.log(updatedPath);
      return updatedPath + (queryString ? '?' + queryString : '');
    }
}));
I've hard coded the component for this example..
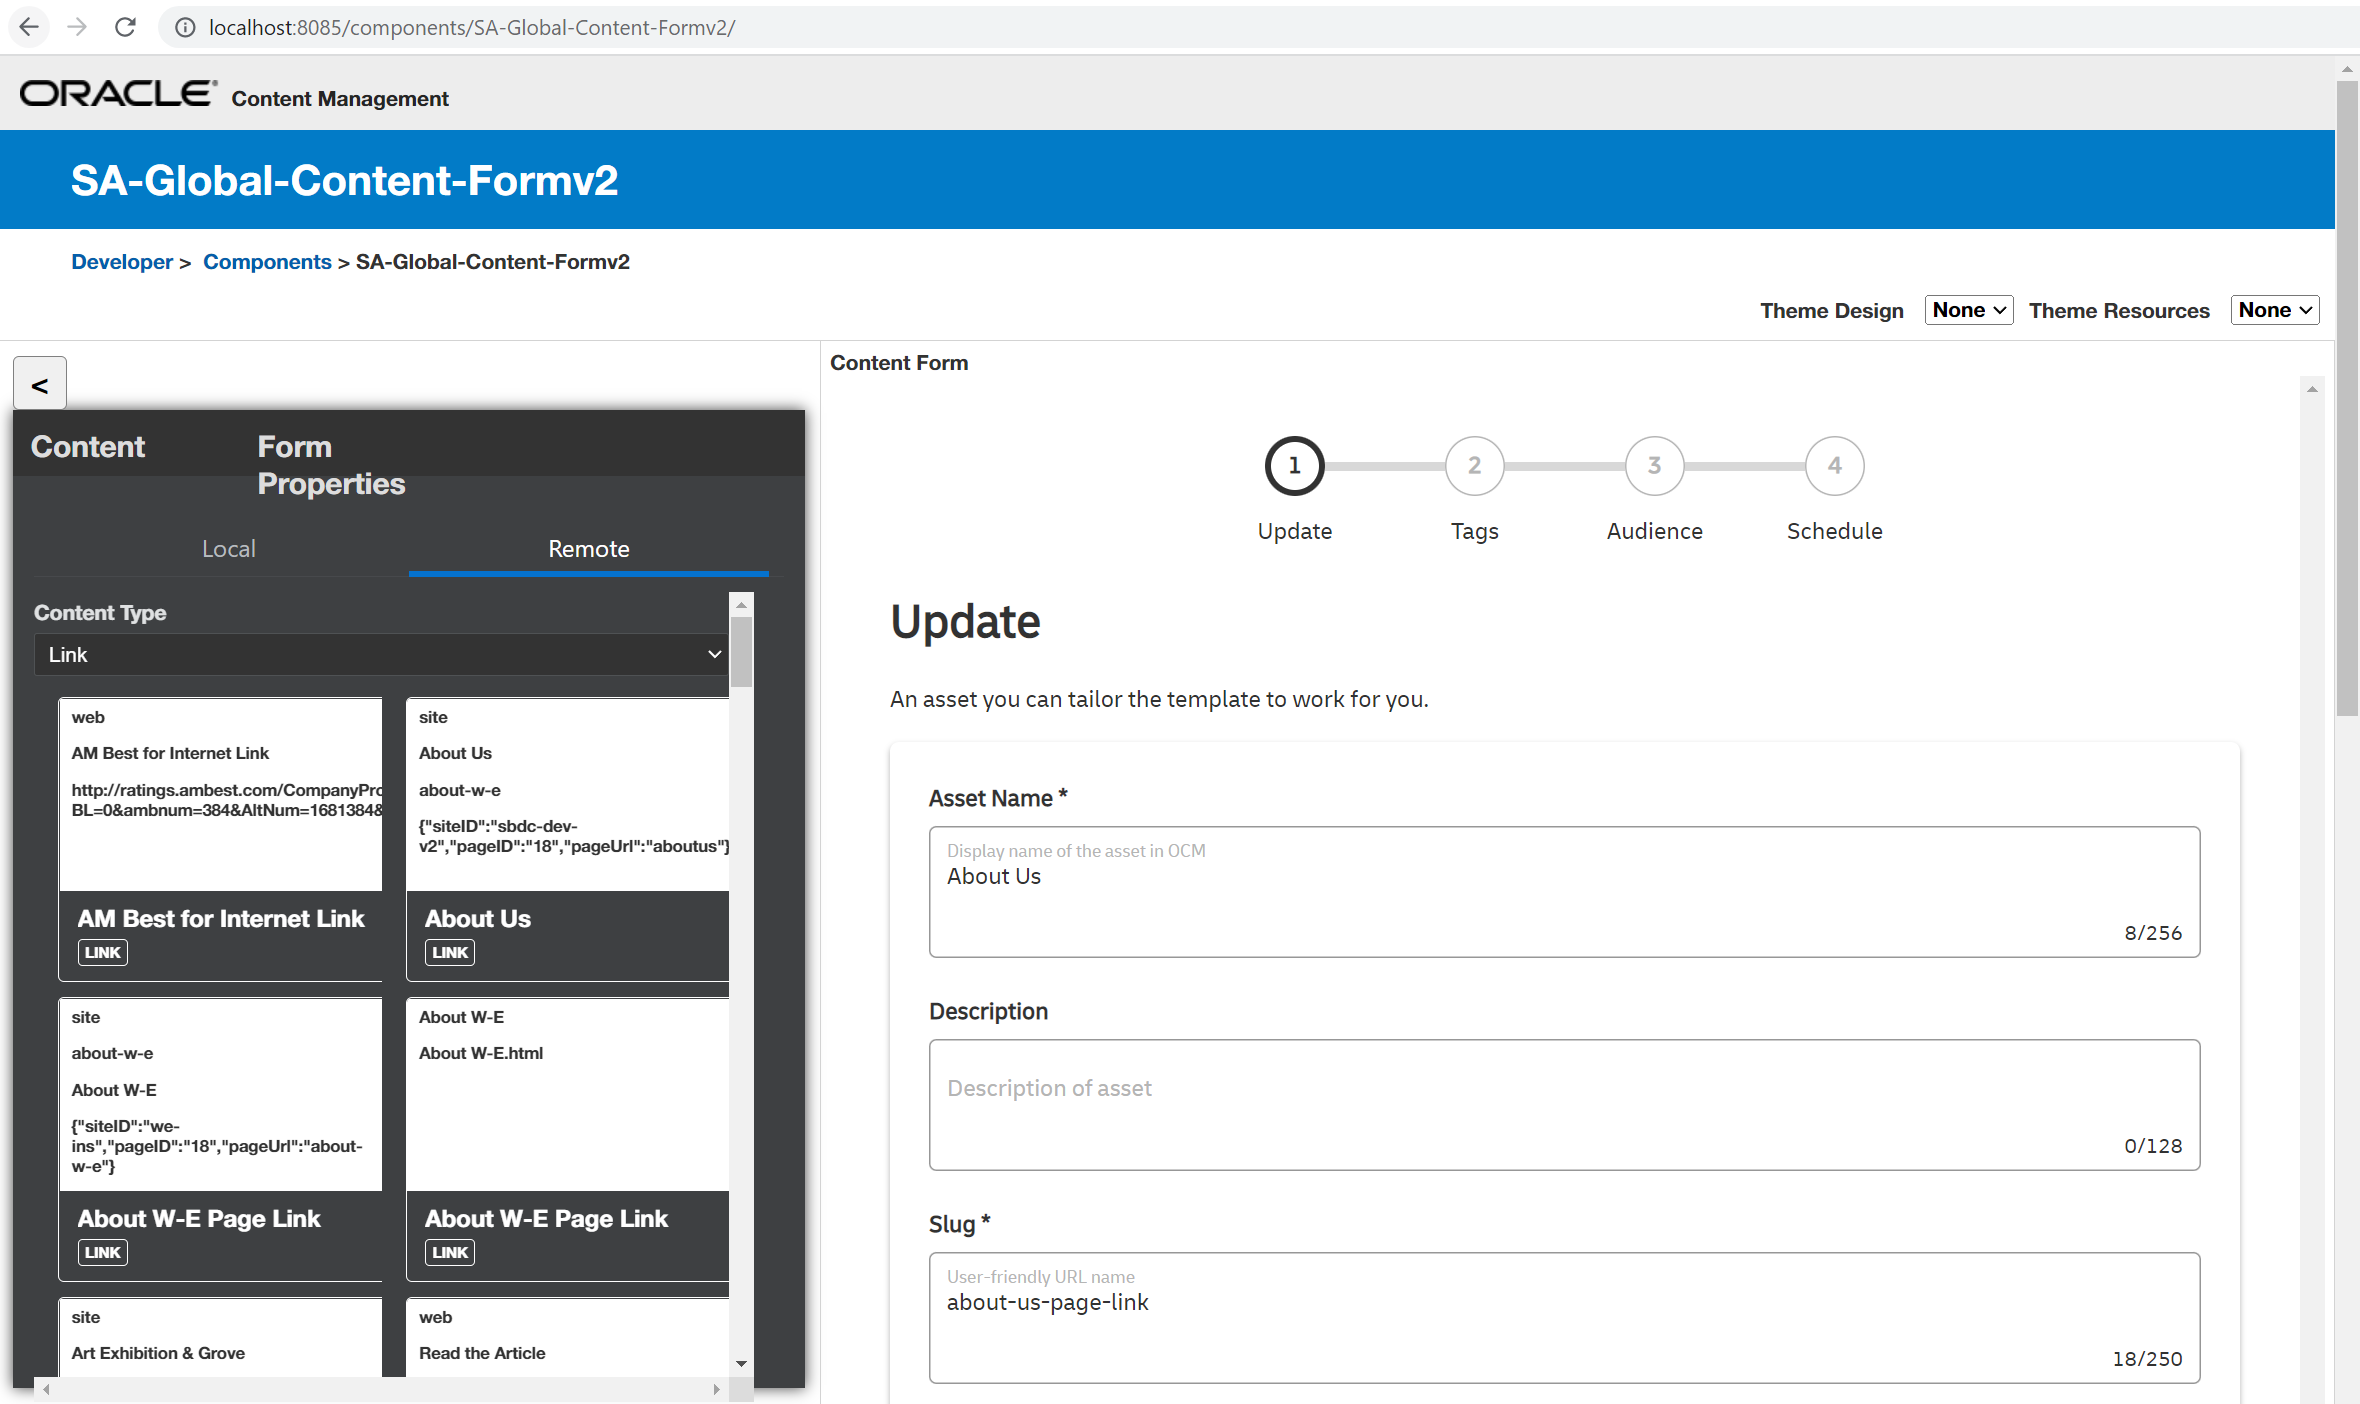
Ok that's the OCM Toolkit configured - here is a quick example when you load the Toolkit Development environment the component iframe loads the dynamic component that your actively developing on the right.
Create a new empty component
Lets use the OCM Toolkit and create a new clean Custom Form Component - launch up a terminal:
# In your OCM Developer Toolkit folder
cec create-component demoForm -f ContentFormSetup Svelte as component instance live development area
I'm going to user Sapper/Svelte for this as I'm creating a base OCM Custom Form Component and want the benefits such as Service workers for caching etc and want the form to be it's own SPA.
For now open up your terminal
# Create a new component folder
mkdir demoForm

# Download sapper base template into demoForm folder
npx degit "sveltejs/sapper-template#rollup" demoForm

# change dir in demoForm
cd demoForm

# install dependencies
npm install

# initiate test sapper
npm run dev & open http://localhost:3000
Great you now have a base svelte/sapper project.
We now need to enhance and update the base path to match the OCM component structure in the sapper component project.
Update the rollup bundler and configure the URLs "rollup.config.js"
//open up the rollup config and update the url plugins
//client.plugins[]
url({
    sourceDir: path.resolve(__dirname, 'src/node_modules/images'),
    publicPath: '/_themes/_components/demoForm/publish/assets/client/',
    destDir: path.join(output.dir, 'assets'), // set dest directory
}),
//server.plugins[]

url({
    sourceDir: path.resolve(__dirname, 'src/node_modules/images'),
    publicPath: '/_themes/_components/demoForm/publish/assets/client/',
    emitFiles: false // already emitted by client build
}),
Update the sapper "src/client.js" with base path
# go into the src folder
cd $:\\<demoForm>\src
polka() // You can also use Express
.use(
'_themes/_components/demoForm/publish/assets',
compression({ threshold: 0 }),
sirv('static', { dev }),
i18nMiddleware(),
sapper.middleware()
)
.listen(PORT, err => {
if (err) console.log('error', err);
});
Update the server path to use
_themes/_components/demoForm/publish/assetsthis will match the OCM component publish assets path.
At this point if you launch the OCM Toolkit development environment along side Sapper.
Open the toolkit http://localhost:8085/ in a browser go to components and you will see the demoForm component - when you click on it - it should show you the base sapper template base loading within the iframe - any code changes you make will auto-refresh - give it a go..
Add a component script to support auto build and publish to OCM
Lets add a few quick scripts to package.json to help simplify the process.
```
# add export to scripts this will build and export to the correct component path
"export": "sapper export --legacy --basepath _themes/_components/demoForm/publish/assets",

# add copy this will copy the export build into the toolkit ready for uploading and publishing into OCM.
"copy": "robocopy \"C:\\demoForm\\__sapper__\\export\\_themes\\_components\\demoForm\\publish\\assets\" \"C:\\work\\sa\\cec-src\\src\\components\\demoForm\\assets\" /MIR & exit 0",

# add publish this will execute cec from your toolkit development folder execute the upload component command and publish to your OCM Instance
"publish": "cd C:\\toolkit\\cec-src && cec upload-component demoForm -p -s DEV",

# add exportOCE this will build copy and publish your component into OCM
"exportOCE": "npm run export && npm run copy && npm run publish",Anytime you want to publish your updates to OCM just run:
npm run exportOCEIf you just want to develop and load the component into the OCM Toolkit just initiate the sapper dev instance which will launch on port 3000
npm run dev
You're probably asking why have we gone through this - so for the custom form component there are a lot of window.postmessages to and from the form happening and this is the quickest and easiest way to develop and test without the need to constantly push the component up to test or manually fresh the page on every update.
- if you have a better approach - please share! :)